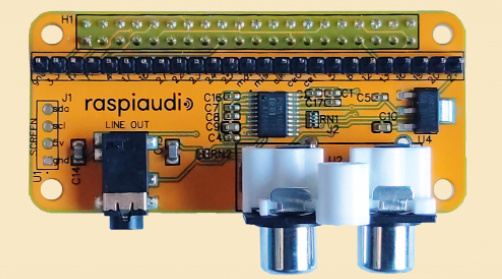
This is the installation guide for AUDIO+ V2
(this is also valid for previous versions of the Audio+)
For raspberry pi Zero users, if not already done you will need to solder the 2x20 pin header like this:
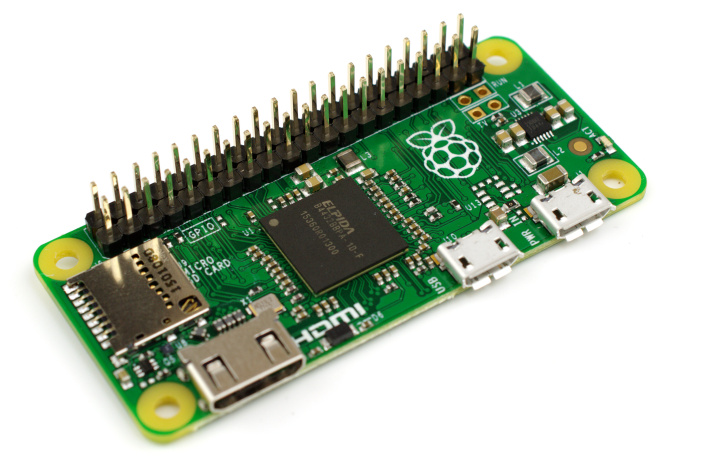
For all other Pi 4 and 3 the 2x20 pin header should come presolder.
LET’S INSTALL the AUDIO+
For Raspi OS users (works also for Retropie) automatic script:
-Insert your Rapsberry Pi Audio Shield in your Raspberry pI then turn it on

-Make sure your audio jack is plugged in to your amplifier
-Open a terminal (yes the black windows thing) and type:
wget -O - script.raspiaudio.com | bash
-say yes for the reboot
-If everything went fine you should here a test sound when tryping this command:
speaker-test -l5 -c2 -t wav
-NEW! : On the next reboot you will be able to control the volume from your desktop or by using the line command tool alsamixer
For references here is the script source.
Alternative manual install tested with Pi OS lite version (manual installation)
Using command line type :
sudo nano /boot/firmware/config.txt
delete the line:
dtparam=audio=on
at then end of the file add the line:
dtoverlay=hifiberry-dac
Save and reboot
try to play something
For OSMC users:
Just follow each steps and device name of this tutorial
For Volumio:
Select HifiBerry DAC

Following GPIOs are used by RaspiAudio:
-GPIO21 (pin 40)
-GPIO19 (pin 35)
-GPIO18 (pin 12)
-Ground pin (connect at least one : pin 6, 9, 14, 20, 25, 30, 34, 39)
-3.3v pin (connect at least one: : pin 1, 17)
All others pin are free to use in your projects and available via the 25 pins connector (need to be solered):

