Can i run the speaker test to complete the installation from an SSH Terminal? I am not using a desktop at all.
yes when you do : wget -O - test.raspiaudio.com | bash
just press the yellow button one time and the test will run ![]()
it will good if the installation script can have a switch to avoid asking for reboot. this will help in automation scripts.
Hey, thank you for making this, however, I have two things that are not working. I am on raspiOs with a raspberrypi4b, and mic+ v2
When I installed the software using
wget -O - mic.raspiaudio.com | bash
it edited the the file in boot/configure.txt
however, we have to update it in
boot/firmware/configure.txt
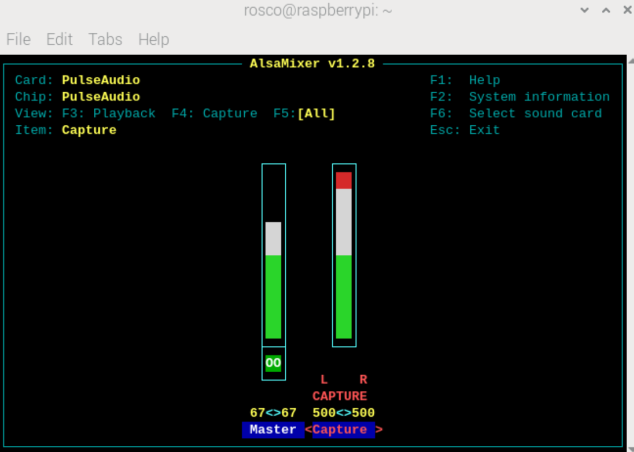
which I manually did to make it work. However, when I run alsamixer, and choose the card I get this
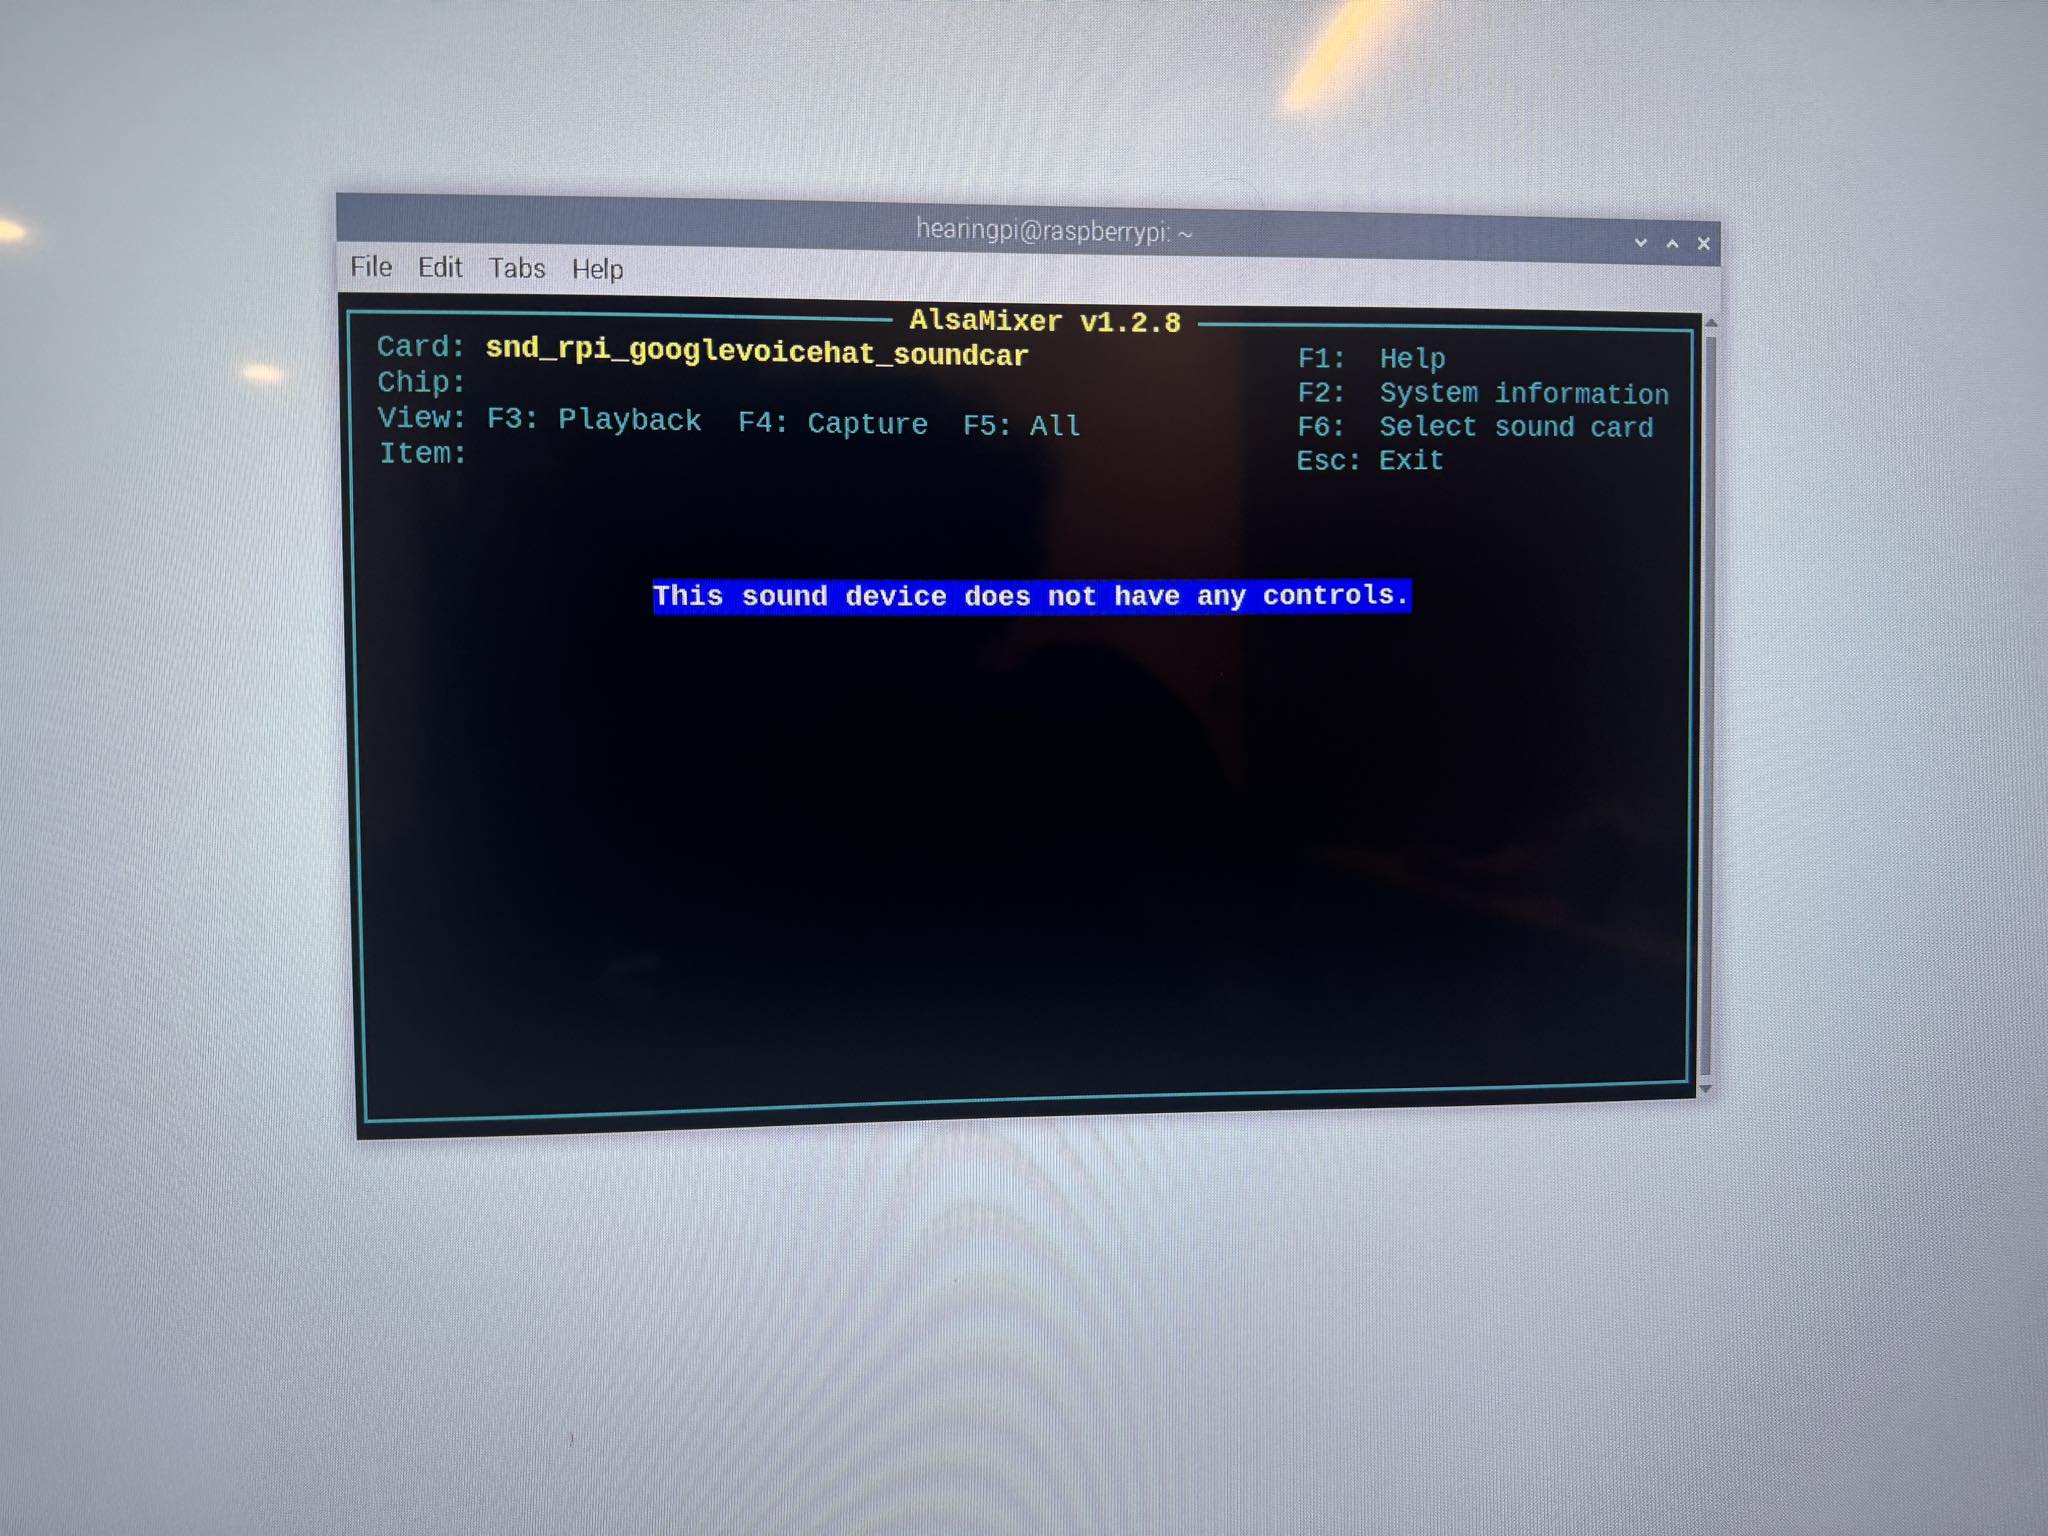
Also, my microphone is not working well.
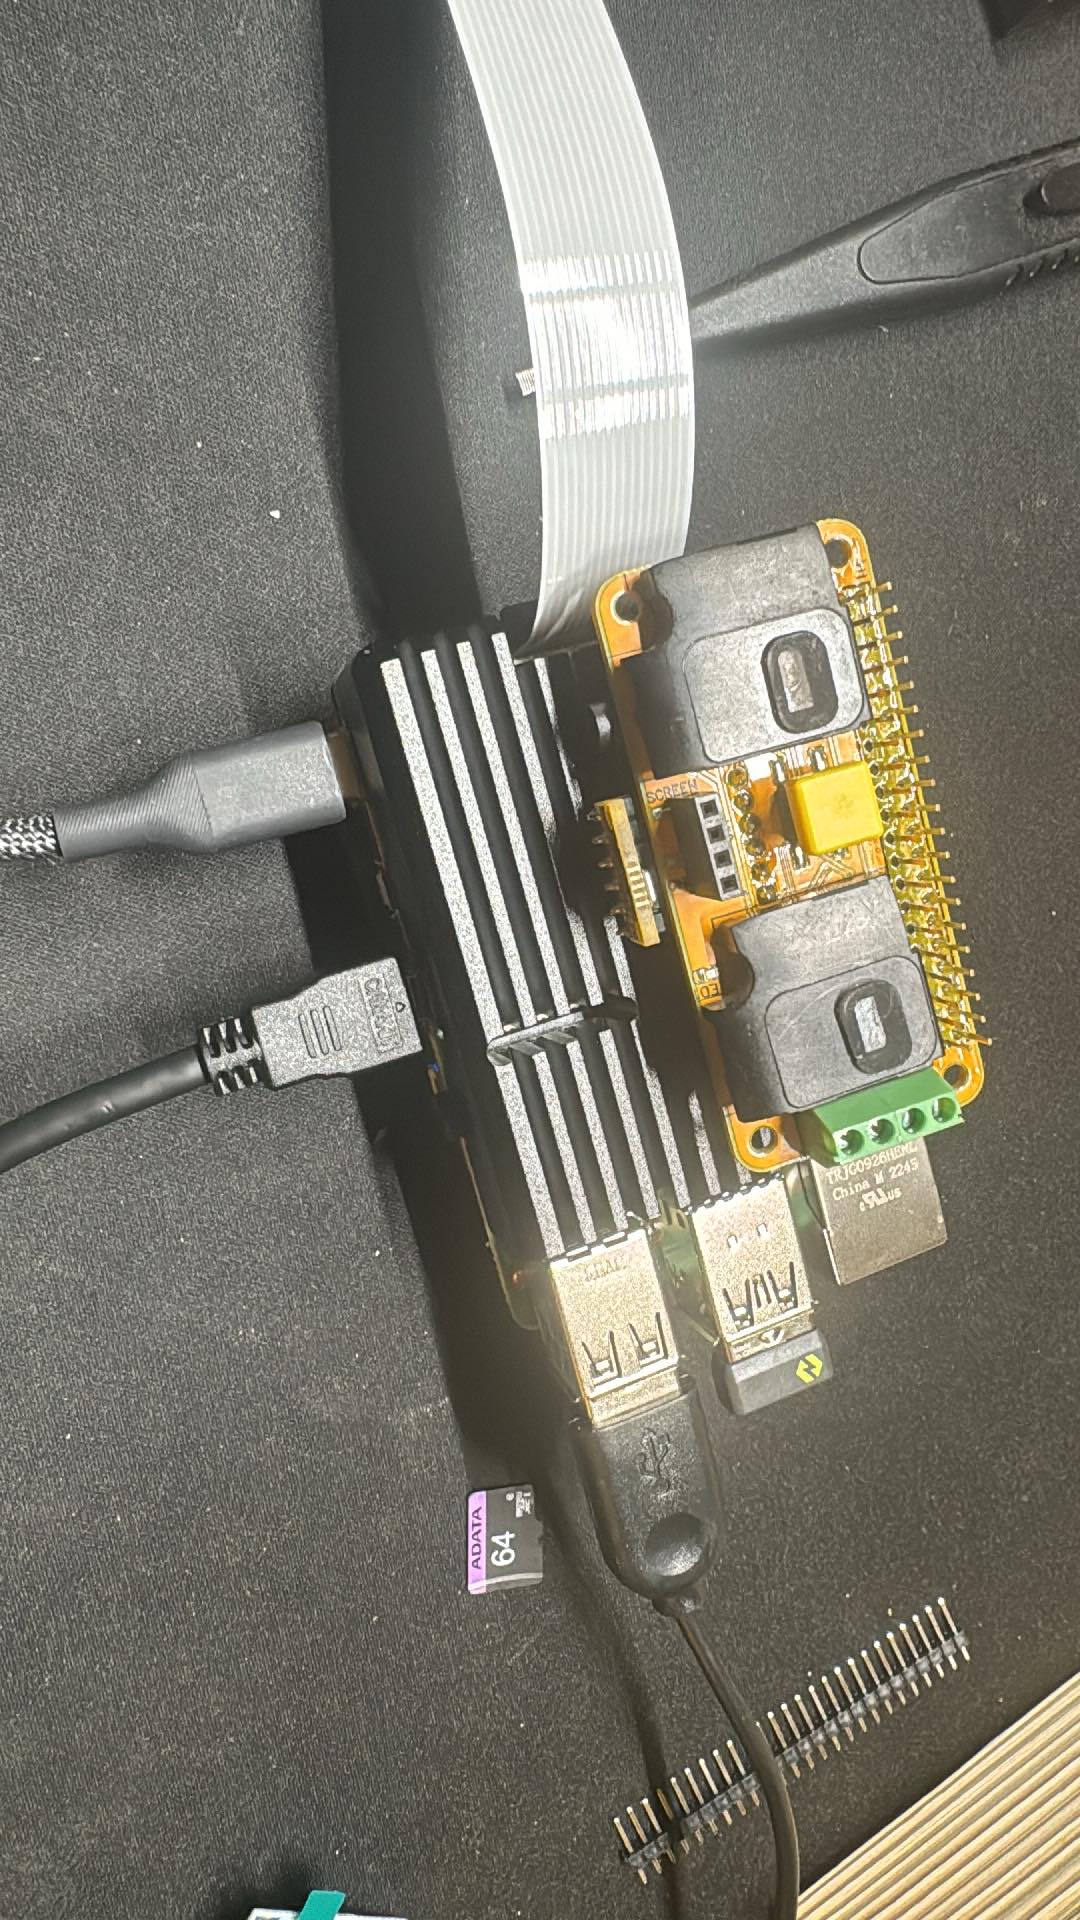
Here is my setup
Hi here the updated guide !

Installing MIC+ Sound Card on Raspberry Pi OS
- Edit Config File:
- Open a terminal window and type in:
sudo nano /boot/firmware/config.txt - Comment out the existing audio line by adding a
#in front of to have:
#dtparam=audio=on - Add the overlay for the sound card:
dtoverlay=googlevoicehat-soundcard - Reboot Your System
- Playing Audio
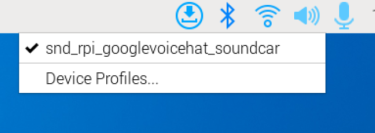
- After rebooting, check if your sound cards are recognized. You should see the speaker icon on the desktop.
- To test, open a terminal window and type in:
speaker-test -l5 -c2 -t wav
You should hear “left” and “right” from your speakers.
- Recording Audio:
-
Volume control is managed by PulseAudio in Raspberry Pi OS, serving as middleware between the hardware and software.
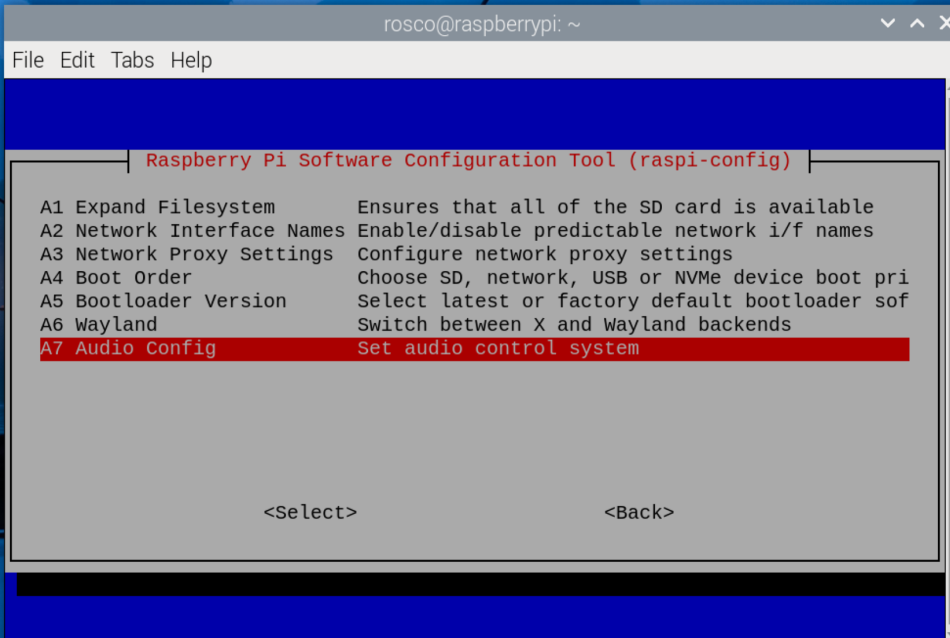
Enable Pulse audio in the Raspi-config menu in Advanced - Audio Config
sudo raspi-config
-
To record audio on the Pulse device , type:
arecord -D pulse -f S16_LE -r 48000 -c 1 -d 10 test.wav. -
Play Your Recording:
- To play back the recording, use:
aplay test.wav
- To play back the recording, use:
- Adjusting Volume :
You may notice that the recording volume is a bit low.
-
To list devices, type:
pactl list short sources
it should return :
Where Device 0 is the output and device 1 is the microphone input. -
To increase recording volume type:
pactl set-source-volume 1 200%
then try to record again (see previous step) -
For playback volume, type:
pactl set-sink-volume 0 100%
If you prefer a nice graphical interface install
- To install a nice graphical interface for volume control, type:
sudo apt-get install pavucontrol
then type this to launch GUI :
pavucontrol
Alsamixer is another way to control volume but it will just use the PulseAudio device to make volume change
* 
Hi, I’m on a fresh install of Raspberry Pi OS (32-bit legacy) on a Pi Zero W.
It looks like PulseAudio is no longer installed by default (I cannot find info about this online).
So install with the following commands. Afterwards you do need to reboot.
sudo apt install pulseaudio
sudo reboot -n
I did not need to set the audio controller in raspi-config.
Nor could I. The option is not there now, even after rebooting. I do not need PipeWire for anything so this is ok with me.
1 Like
Hi, thanks for sharing this indeed the legacy version is not integrating PulseAudio, this the old method is still usable. Let me modify the guide to explain this.
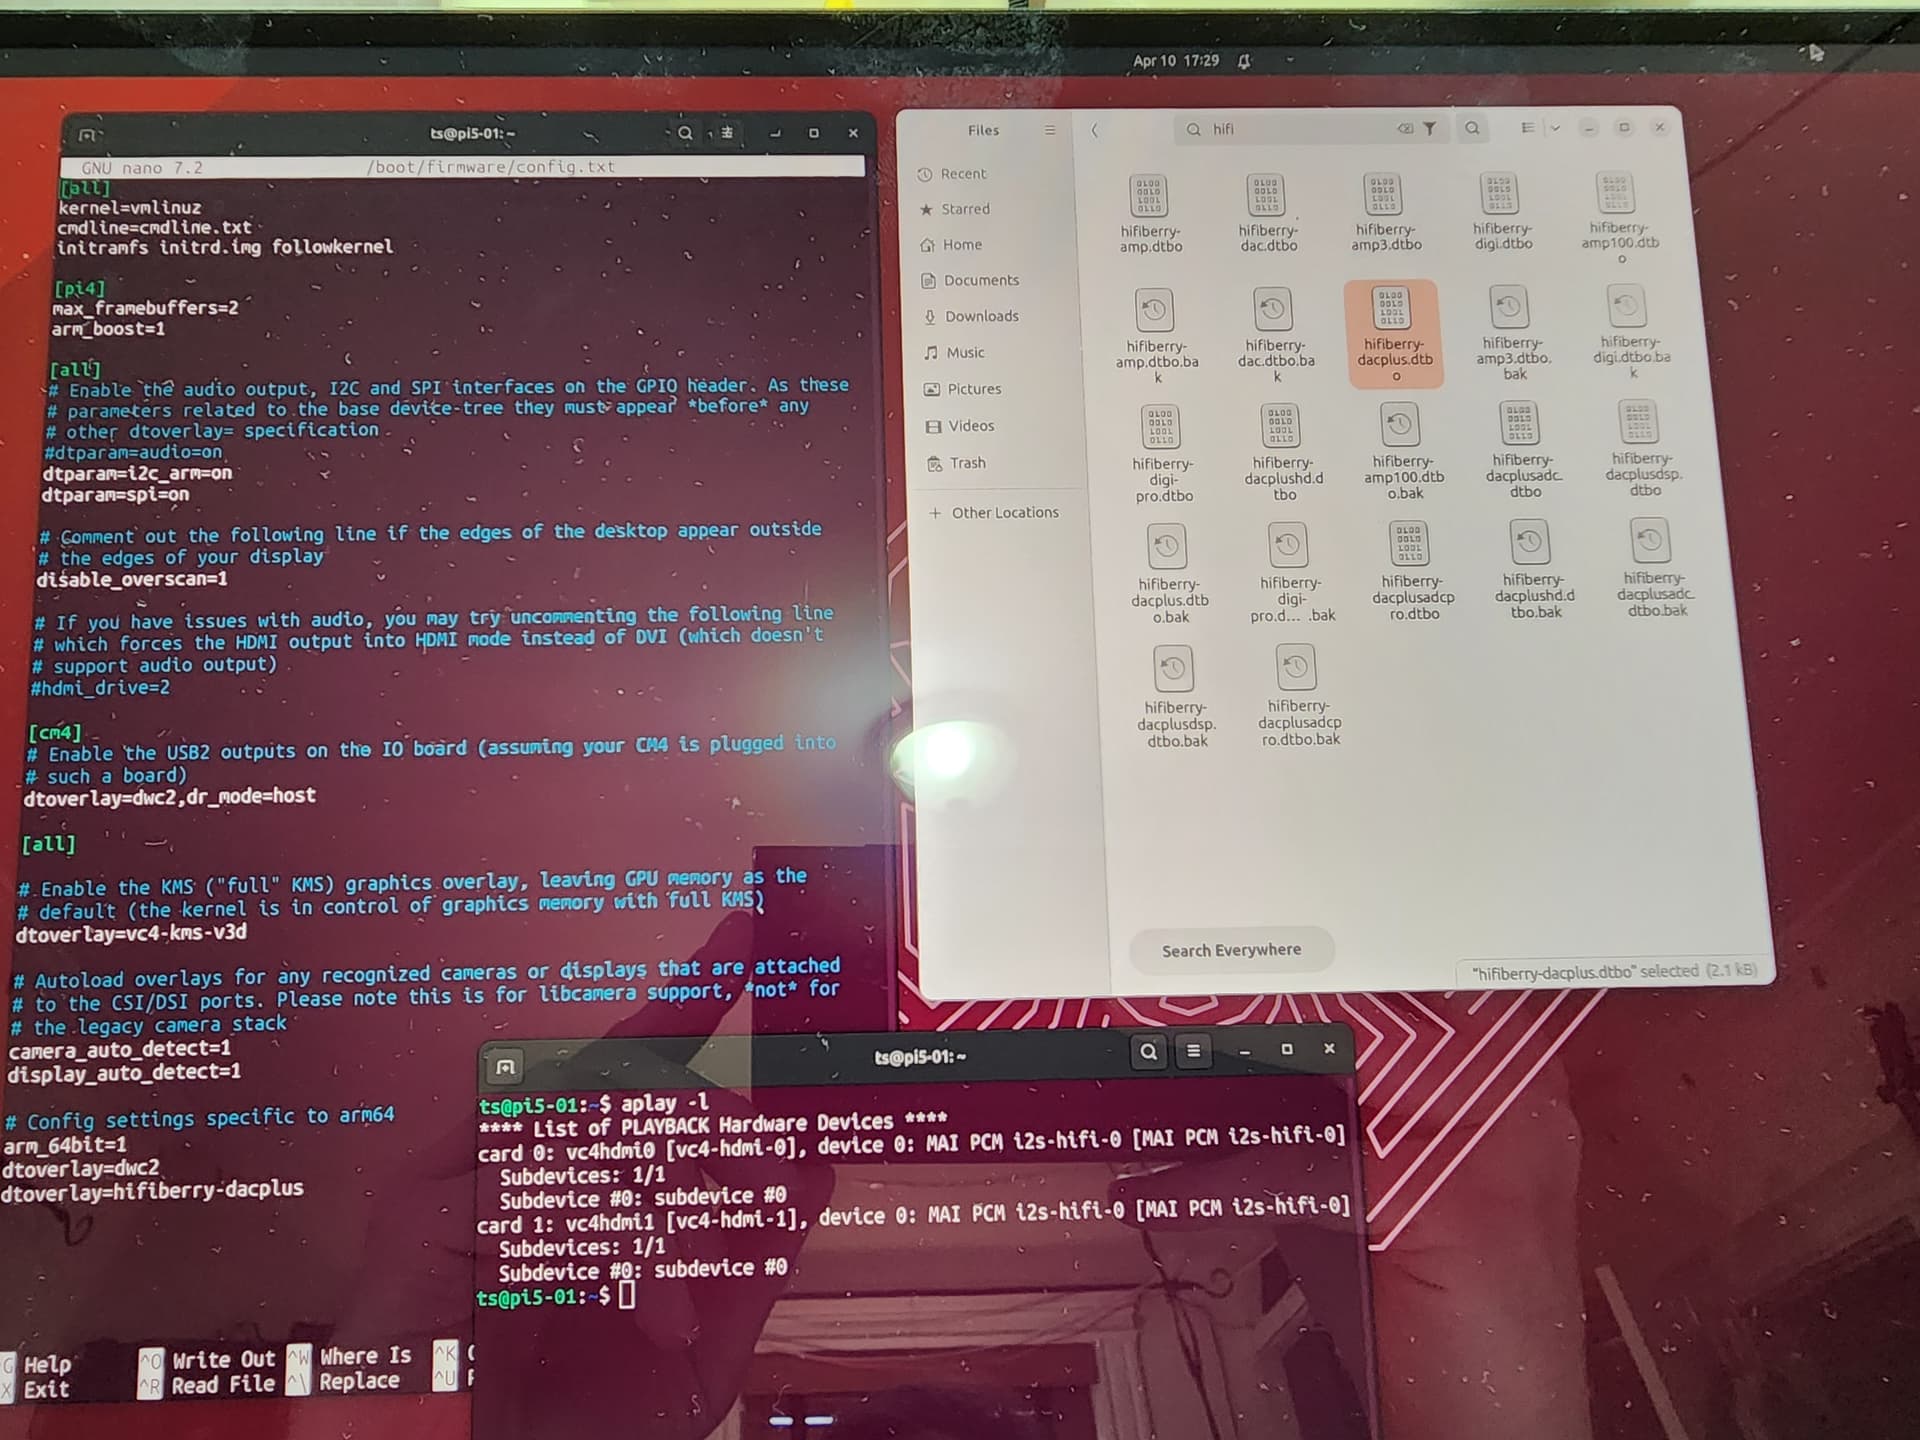
Raspberry PI 5 with Ubuntu 23.10 (from the official Raspberry PI Imager tool)
I can’t get this to make go. The folders referenced in the instructions to copy don’t exist. What am I missing? Do I need to use a different Ubuntu image?
Hello please try this for Ubuntu; let me know how it goes:
thx

-Have you tried to only plug the MIC+ with no other shields?
-Could you also try
dtoverlay=hifiberry-dac
or
dtoverlay=googlevoicehat-soundcard
?
Hello, is it possible to bridge the two speaker outputs to drive a mono speaker? Thanks.
Further, is it the case that there is no headphone interrupt on the stereo output? I see above that it does not mute the onboard speakers but wanted to be sure about the amp out.
Hello,
There is no jack detect to cut the amp. This is something that I could had on next version but I’m afraid that as soon as will do the mod people will ask the opposite ![]()
It is not recommended to connect both L and R output un parallel to the same speaker as it will change impendence
1 Like
Thanks for the clarifications!
Hello,
Posting it here in case it can help anyone.
I just bought MIC+V3 and was struggling to get the microphone working on a fresh install to RPI4 with Raspberry OS Bookworm : PipeWire is enabled by default in replacement of PulseAudio.
Recording test using arecord was not working - no error but no sound when playing the recorded file. Manual installation tutorial also didn’t help, neither Alsamixer settings.
I get it fixed by changing the default Audio/Source in pactl :
pactl get-default-source # was printing erroneous alsa_output.platform-soc_sound.stereo-fallback.monitor
pactl list short sources # list available sources (I had one named alsa_input.platform-soc_sound.stereo-fallback)
pactl set-default-source alsa_input.platform-soc_sound.stereo-fallback # change the default source to the good one
I have tested the hat on raspberrypi zero it works flawlessly.
I have radxa zero 3w, I have tried a lot but not succeeded to get this running on rockchip 3566 radxa zero 3w.
Can anyone help me out on this.
thanks
Hi i’m not familiar with this Pi Zero clone but as long as you can enable I2S on your board the mic+ should work as it is a plain I2S device no driver are needed. Please share your result if you succeed!
thx
PI Zero W2, latest RaspiOS 64bit Lite (Trixie).
#dtparam=audio=on
dtoverlay=googlevoicehat-soundcard
alsamixer = NO CONTROL on CARD
Pulseaudio not installed by default.
Operating system has not the graphical interface.
The card works correctly: all my python code with Pyaudio can record audio (only at 48kHz) and playback is ok.
I can’t boost the microphone volume (recordings are low) and playback is too LOUD.
I can’t install the graphical interface of Raspi OS because this is an headless device and I need all the CPU’s power for audio + LLM activities.
Aplay works and Arecord needs to specify the HW:0 to work.
In your docs everything is related as the Graphical Enviroment is installed.
Suggestions?
Hello, the I2S microphone does not have an hardware gain boost so to say, so you need to create a software boost for this you can use Pulse audio (easier) or Alsa mixer to create a soft device linked to the microphone.