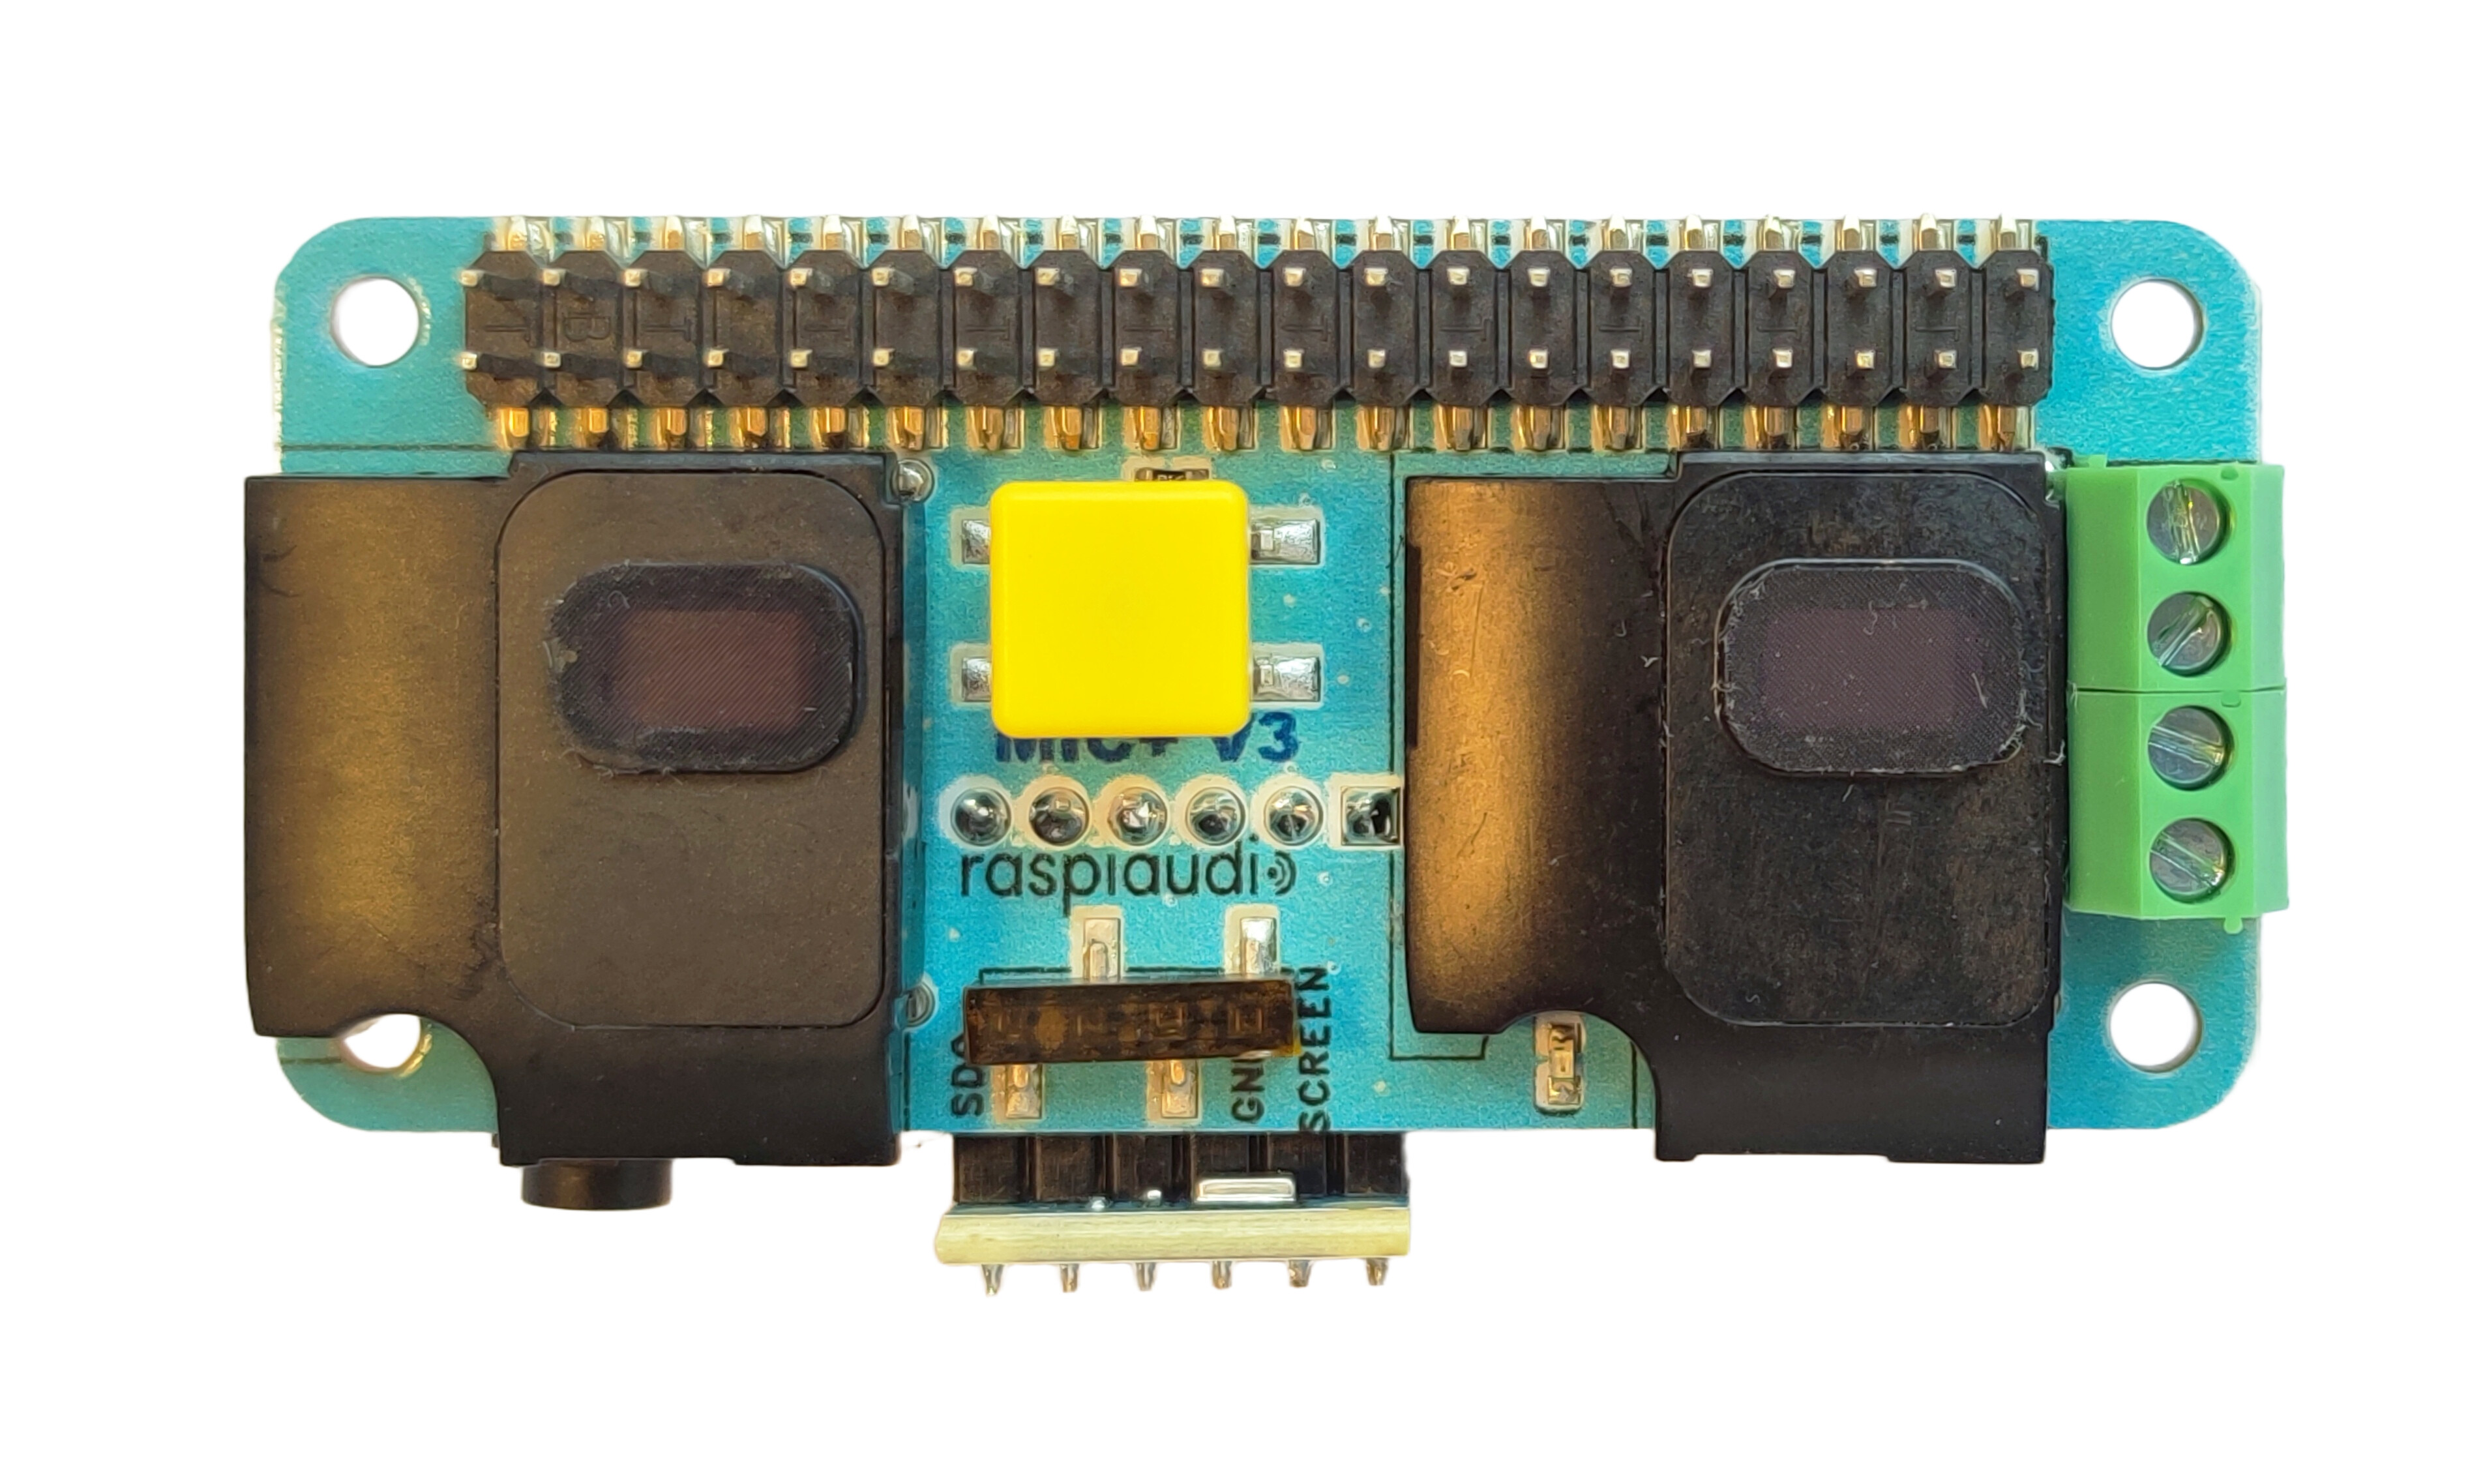
MIC+ V3 Installation Guide
(note that we have updated the color of our PCB to blue but there is no other changes compared with V3 yellow version)
This is the installation guide for the MIC+ V3.
Quick Start:
Simply insert your MIC+ V3 and turn ON your Raspberry Pi. It will be automatically detected, and you’re ready to go!
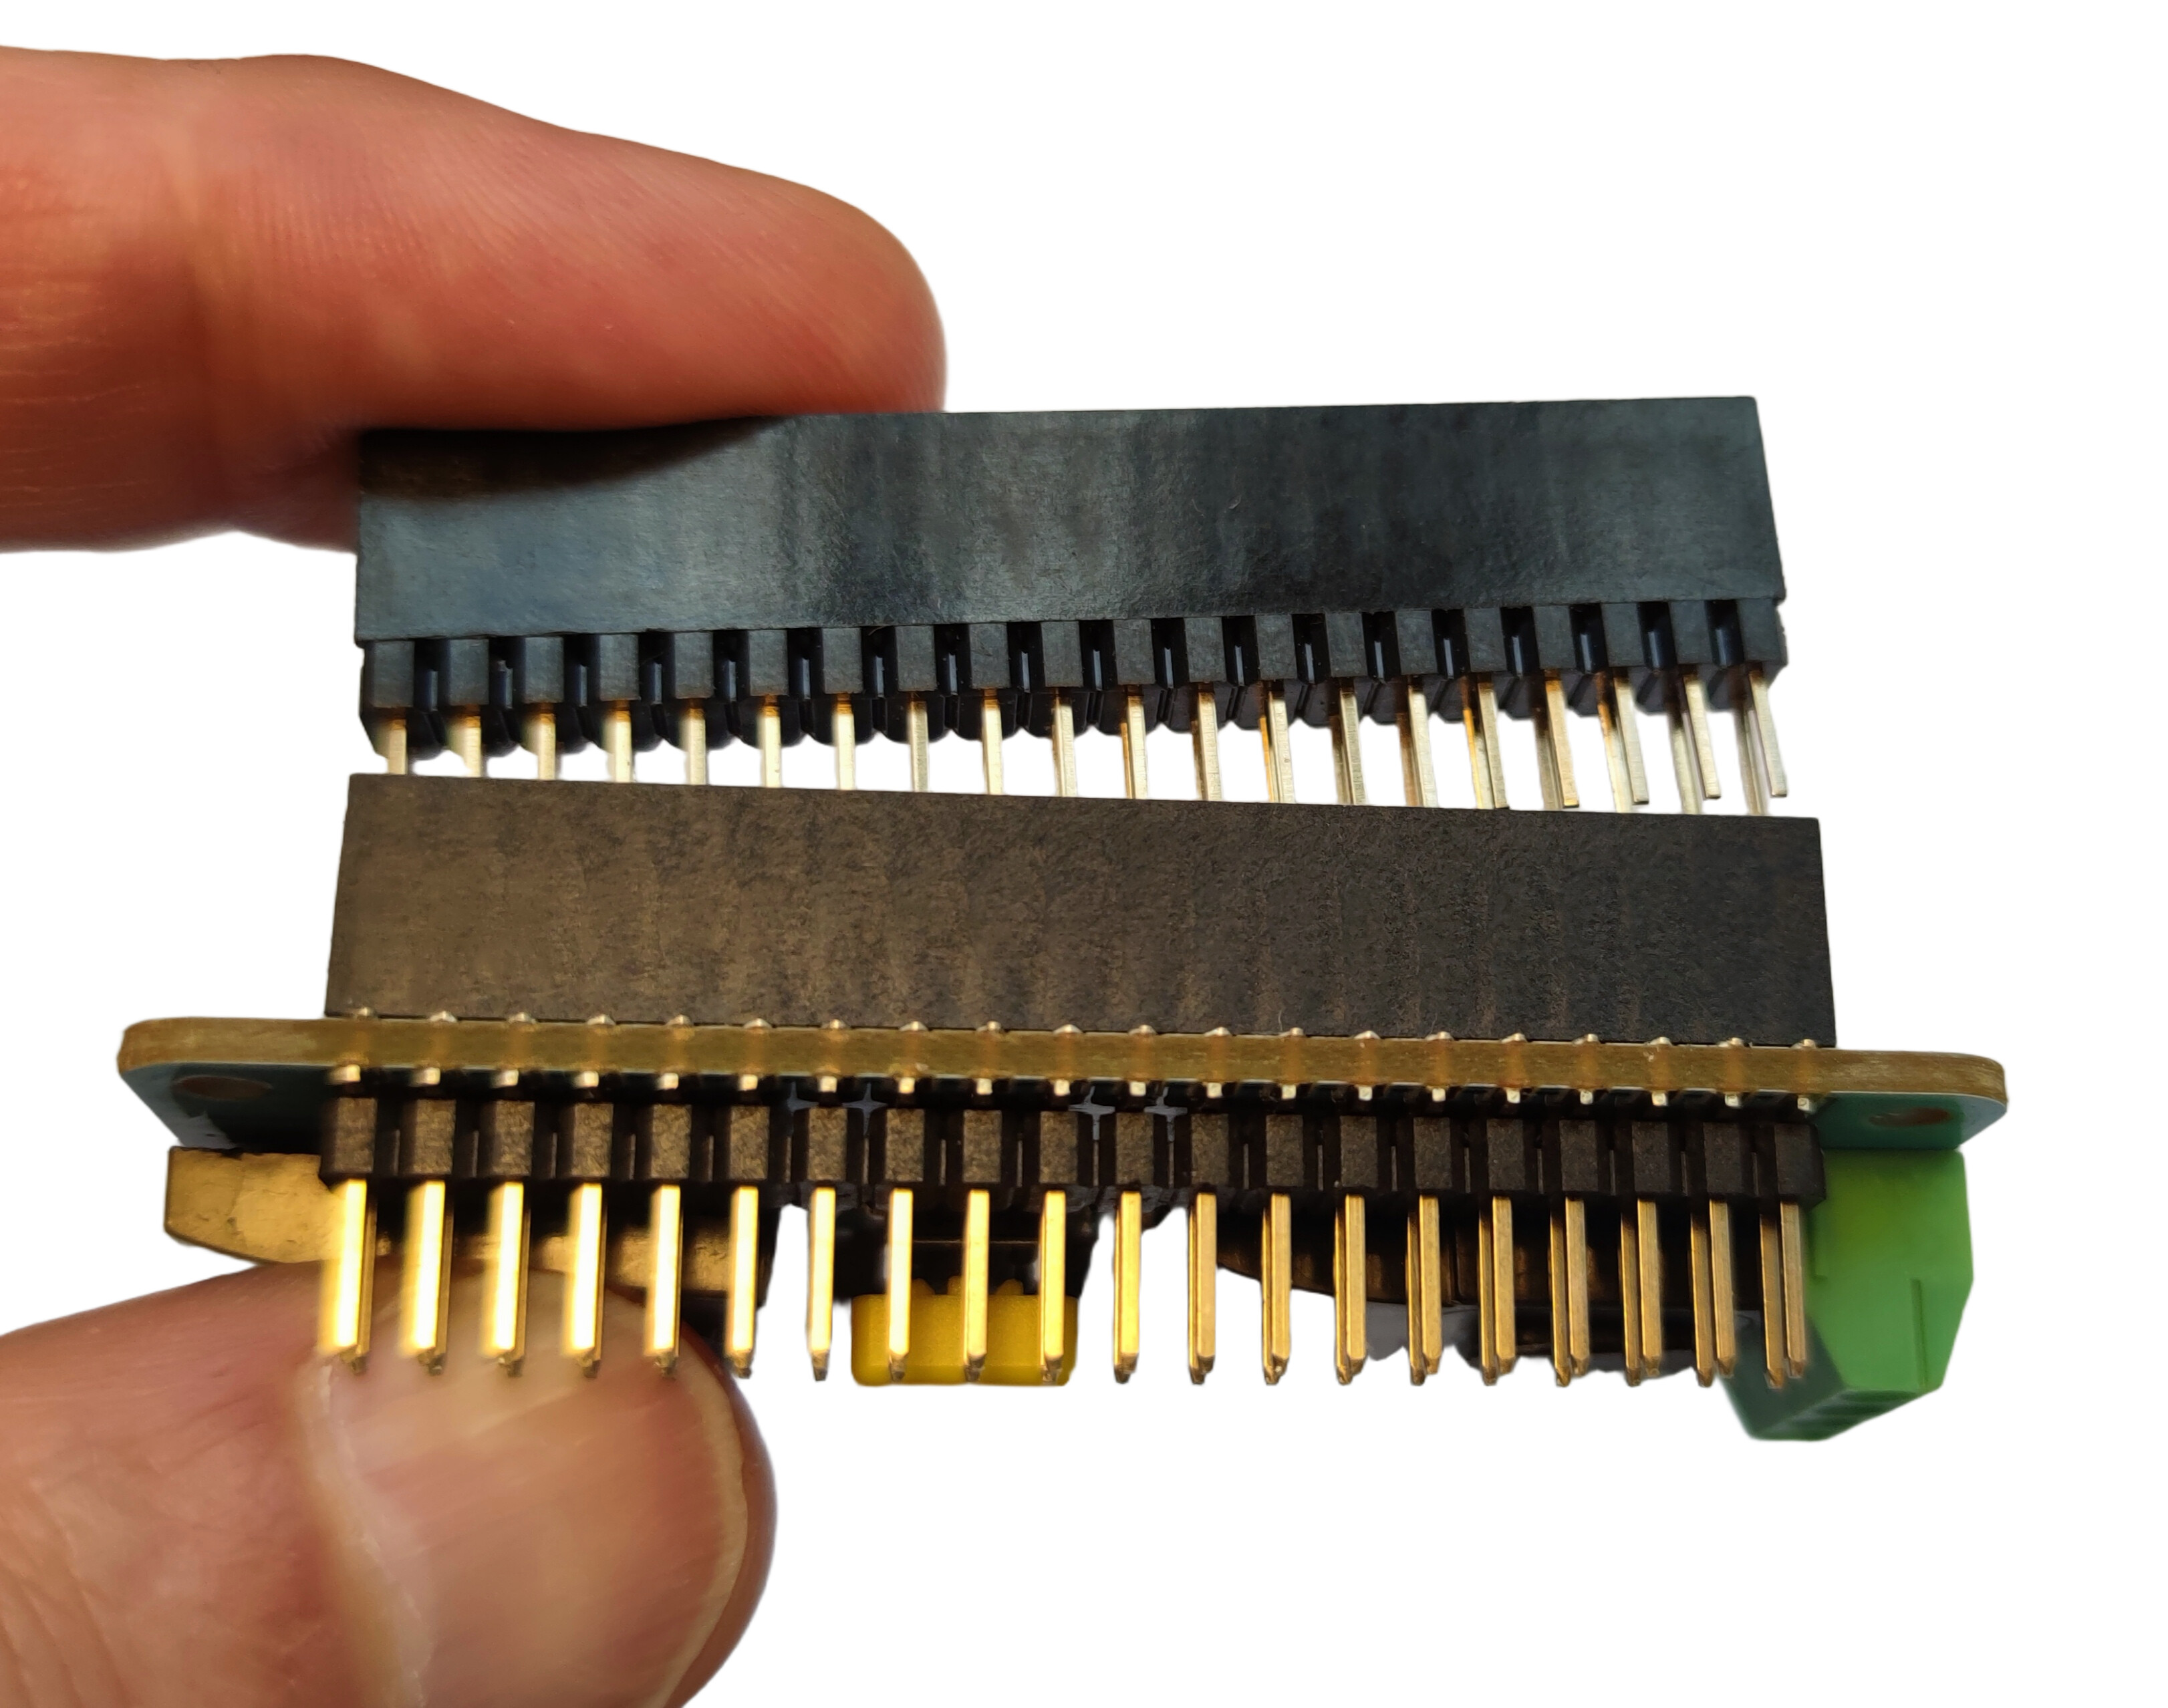
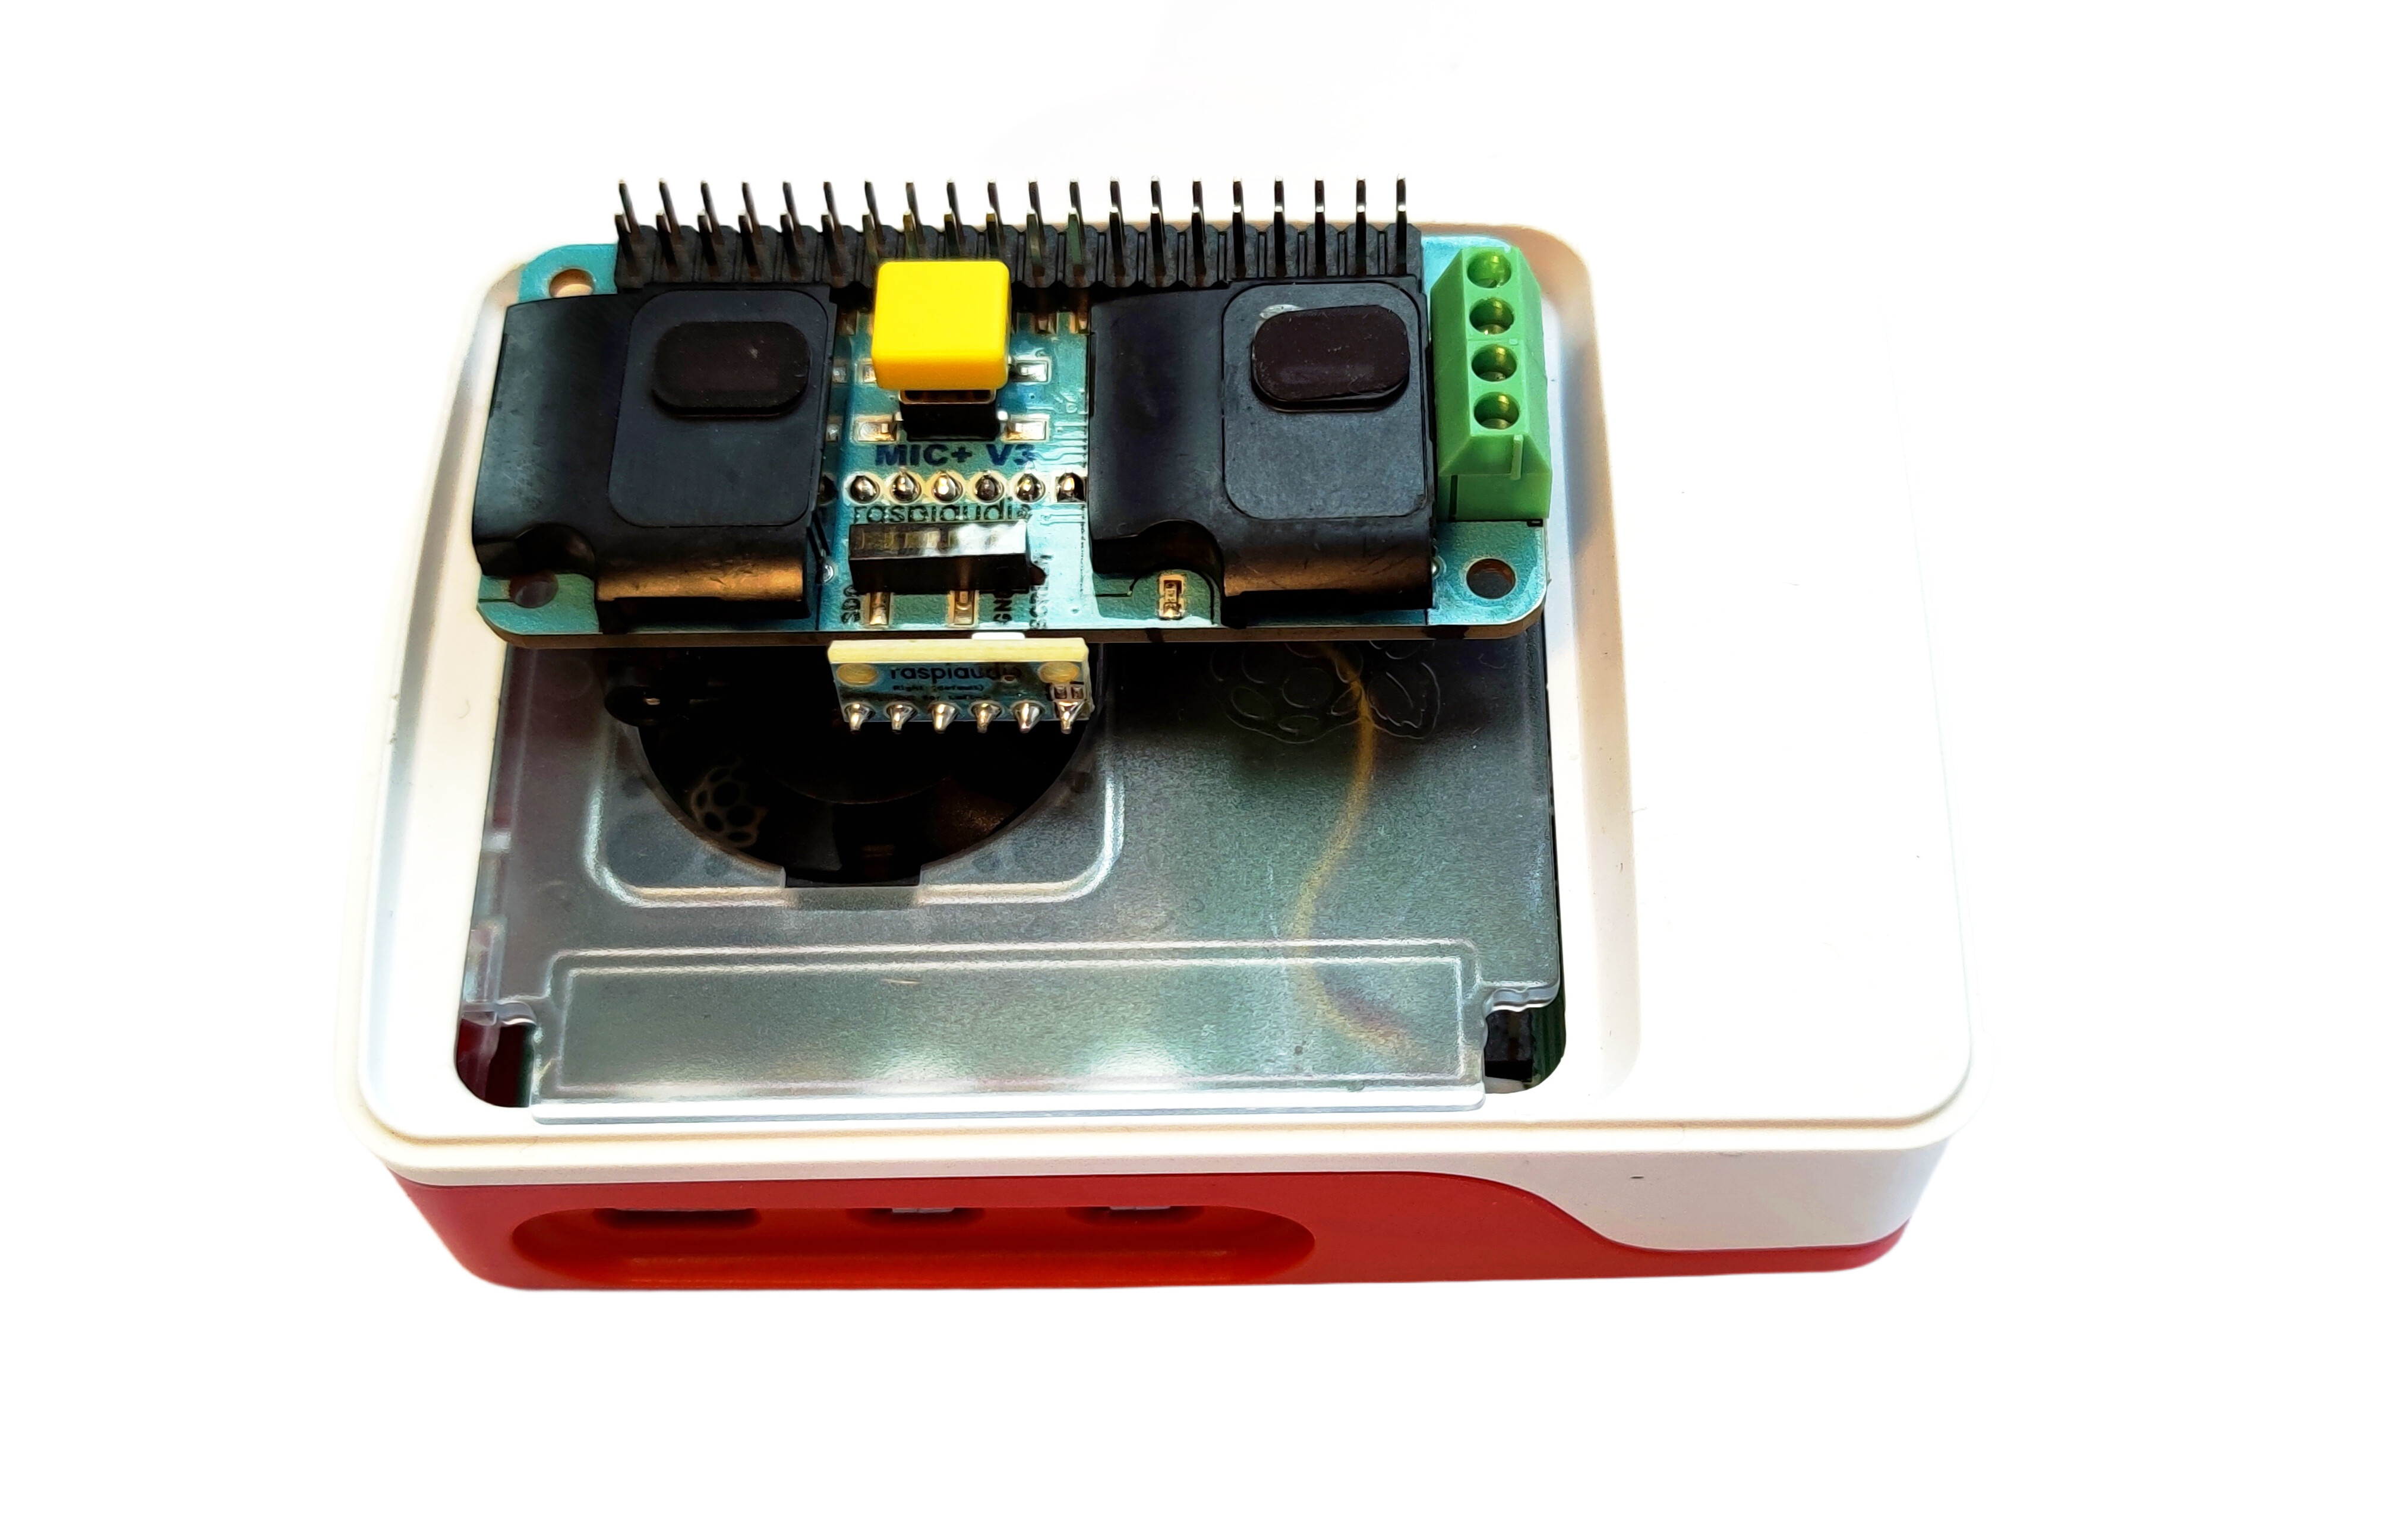
Insert firmly your MIC+ (while your Raspberry Pi is OFF):
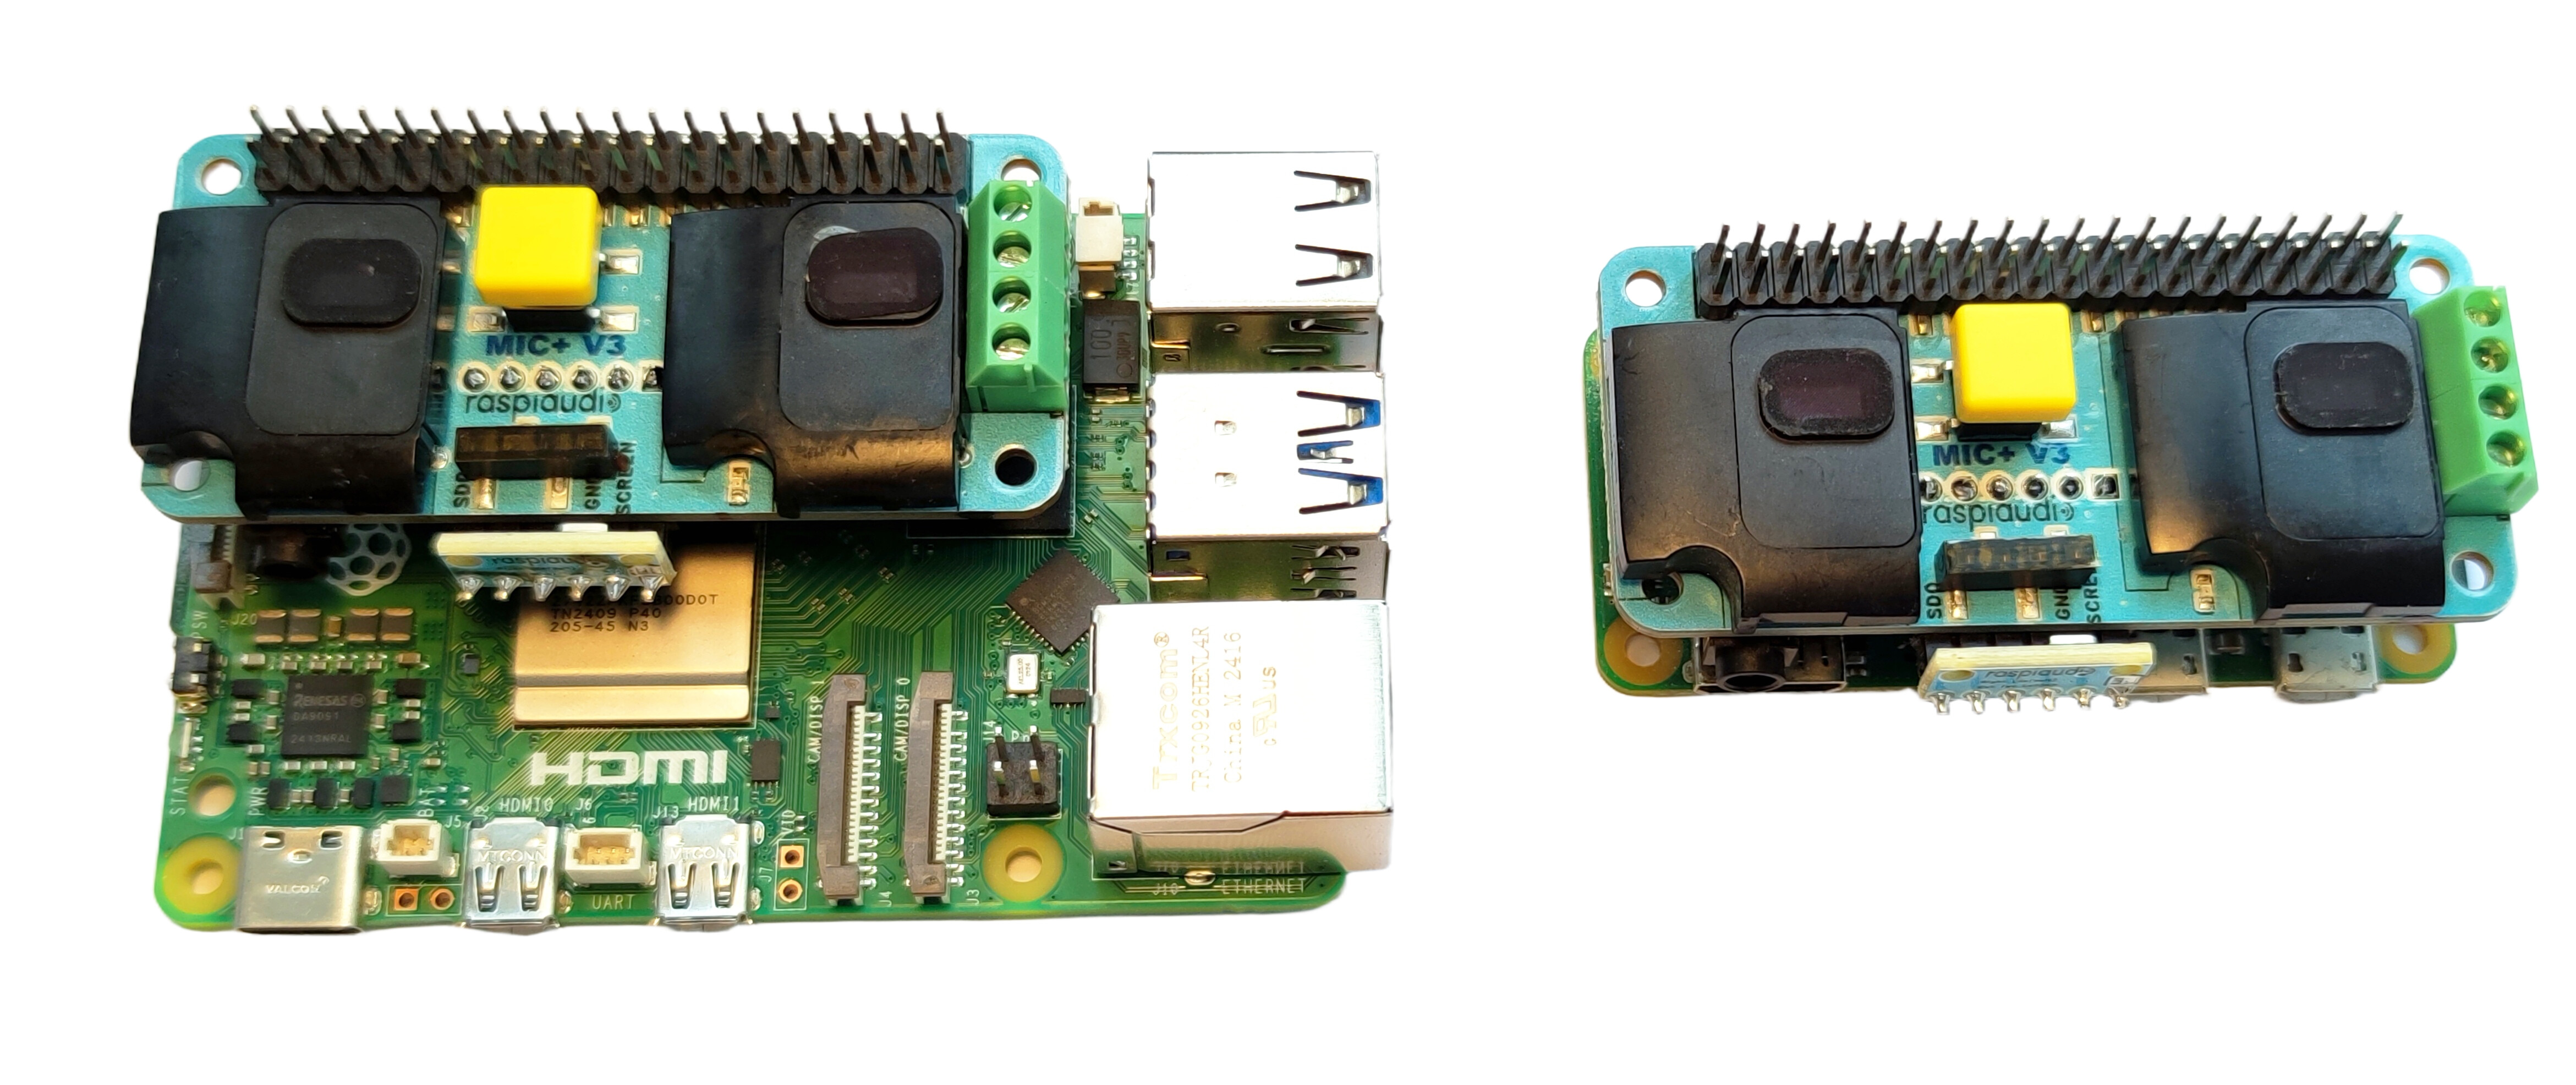
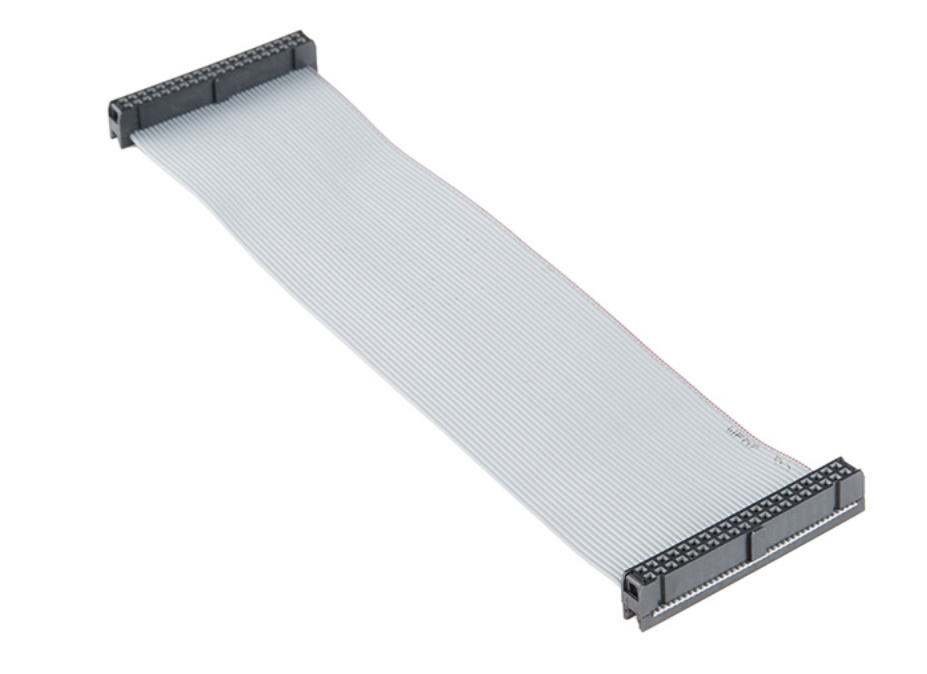
To use with the Rpi official case use the included 40 pins riser:
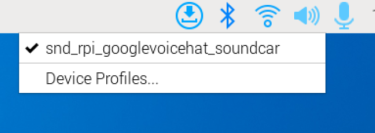
Turn ON Your Raspberry Pi (with Pi OS installed, if not already done).
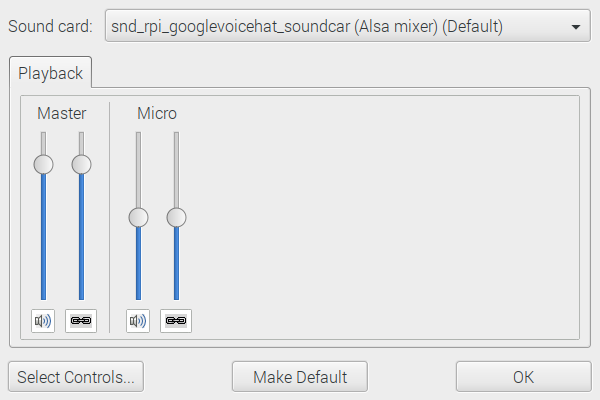
Once booted up, click on the speaker icon at the top right corner, and select the audio device “snd_rpi…”:

Right-click on the microphone, this is your mic device:

Test Sound Output:
- Open your browser and play a YouTube video, or:
- Open a command line window and type:
speaker-test -l5 -c2 -t wav
This will play “front left” and “front right” 5 times.
Test Microphone Input:
- Open a command line window and type:
arecord -D pulse -f S16_LE -r 48000 -c 1 -d 10 test.wav
To play your recording:
aplay test.wav
Manual Installation (for previous versions of MIC+ or for other OS)
Installing MIC+ Sound Card on current Raspberry Pi OS
-
Edit Config File:
You can edit theconfig.txtfile by inserting your SD card in your desktop computer and making the following changes with any file editor, or directly within Pi OS:- Open a terminal window and type:
sudo nano /boot/firmware/config.txt- Comment out the existing audio line by adding a
#in front:
#dtparam=audio=on- Add the overlay for the sound card:
dtoverlay=googlevoicehat-soundcard- Reboot your system.
-
Playing Audio:
-
After rebooting, check if your sound cards are recognized. You should see the speaker icon on the desktop.
-
To test, open a terminal window and type:
speaker-test -l5 -c2 -t wavYou should hear “left” and “right” from your speakers.
-
-
Recording Audio:
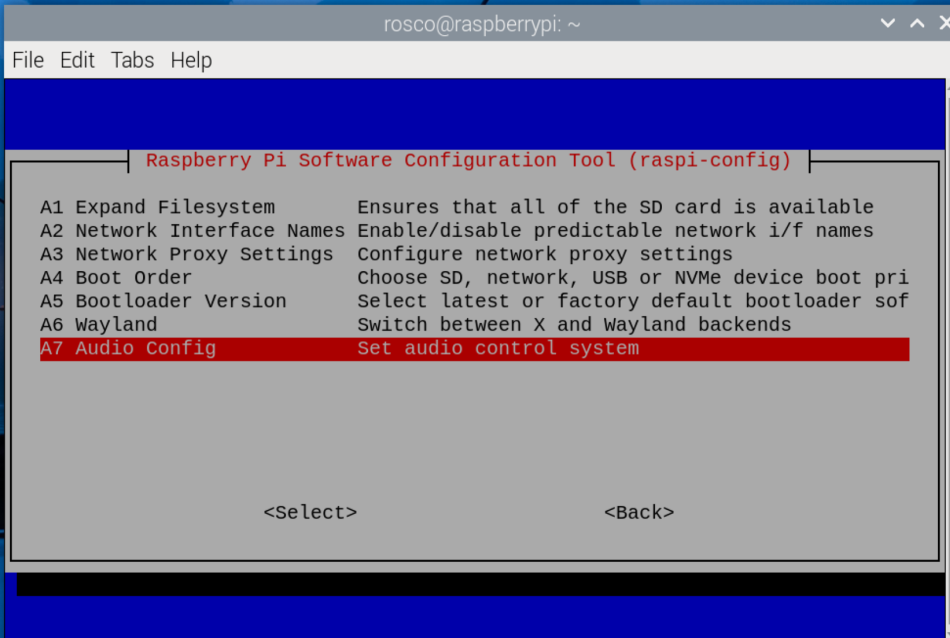
- Volume control is managed by PulseAudio in Raspberry Pi OS, serving as middleware between the hardware and software. Enable PulseAudio in the
raspi-configmenu in Advanced - Audio Config:
sudo raspi-config- To record audio on the Pulse device, type:
arecord -D pulse -f S16_LE -r 48000 -c 1 -d 10 test.wav- To play back the recording, use:
aplay test.wav - Volume control is managed by PulseAudio in Raspberry Pi OS, serving as middleware between the hardware and software. Enable PulseAudio in the
-
Adjusting Volume:
You may notice that the recording volume is a bit low.- To list devices, type:
pactl list short sourcesIt should return something like this:

- To increase recording volume, type:
pactl set-source-volume 1 200%Then try recording again (see previous steps).
- For playback volume, type:
pactl set-sink-volume 0 100%If you prefer a graphical interface, install:
- To install a GUI for volume control, type:
sudo apt-get install pavucontrol- Then launch the GUI:
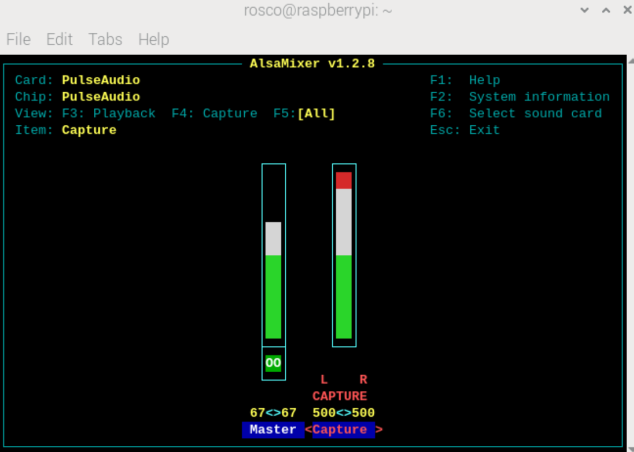
pavucontrolAnother way to control volume is using
alsamixer, which operates on the PulseAudio device:
MIC+ V3 Additional Information:
-
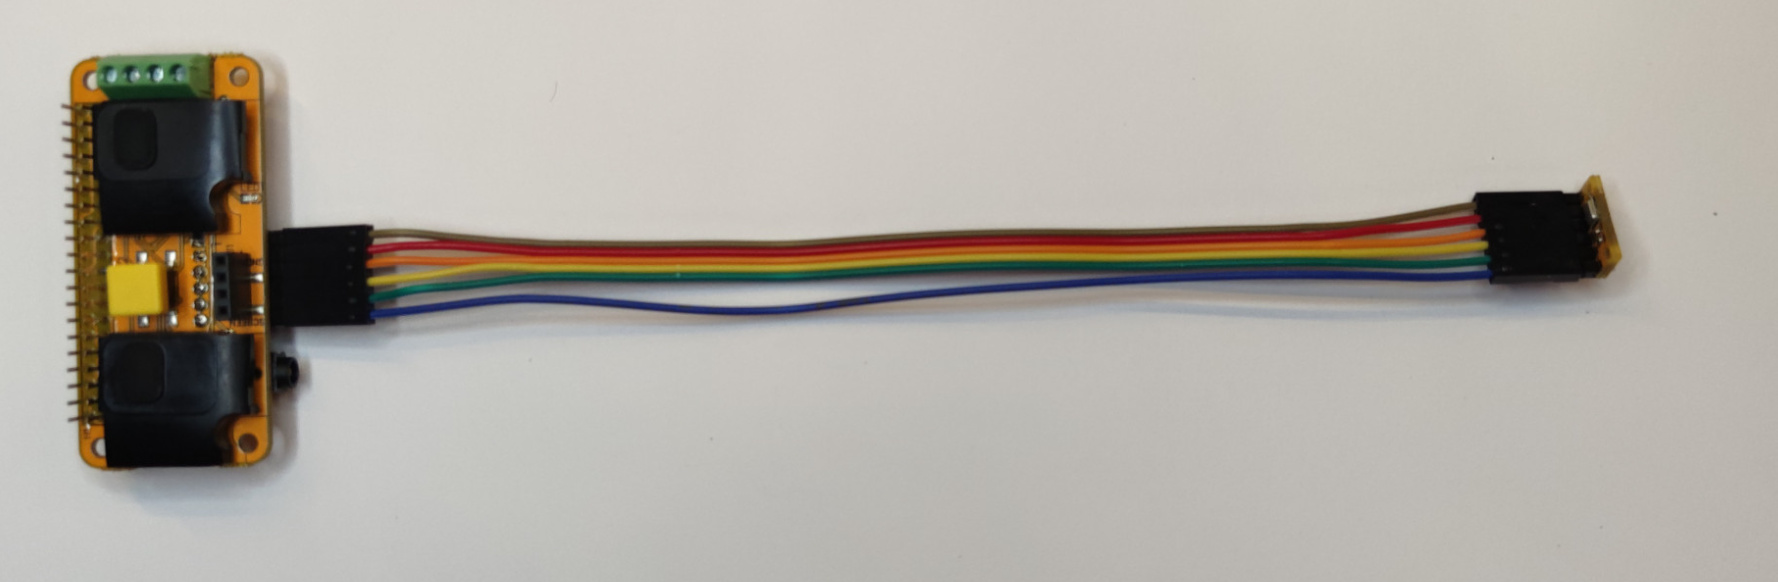
The MIC+ V3 uses an easily detachable microphone with standard 2.54mm cables. You can extend it with widely available male-female cables.
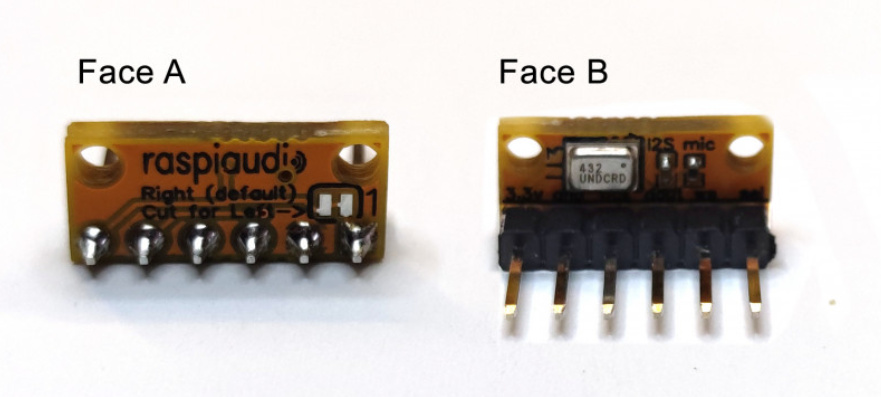
The pinout is from left to right as follows:
- 3.3v
- GND
- BCLK
- DOUT
- WB
- SEL (Used to select Left or Right, by default it is Right. It is possible to add a second microphone for stereo input by selecting Left).
This is compatible with the external microphone sold by Adafruit.
-
The V3 also includes a 32-bit DAC (PCM5102A).
How to Turn Off the Onboard Speakers:
- MIC+ V3:
Gently operate the micro switches on the back of the board. Move the switch toward the “ON” marking to enable the onboard speakers, and the opposite direction to disable them:

For Volumio:
Raspiaudio is now included in the DAC selection for Volumio. Select “Raspiaudio” in the DAC selection, and it should work straight out of the box.
For Ubuntu:
-
Edit the Config File:
sudo nano /boot/firmware/config.txtComment the following line (add a
#):#dtparam=audio=onReplace it with:
dtoverlay=googlevoicehat-soundcard -
Copy the Overlays Directory:
Copy the overlays directory from/lib/firmware/4.15.0-1034-raspi2/device-treeto/boot/firmware:sudo cp -r /lib/firmware/4.15.0-1034-raspi2/device-tree/overlays /boot/firmware -
Reboot your system.
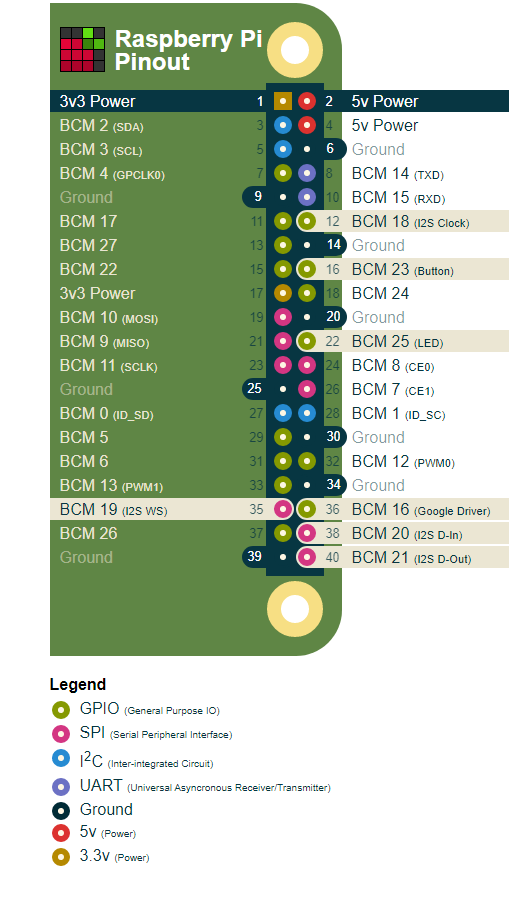
Pinout:
Please find the pinout on our friends at pinout.xyz: