Check our new online installer for a smooth start note that to load the firmware you might need to hold the silver button.
Available on Amazon

Purpose
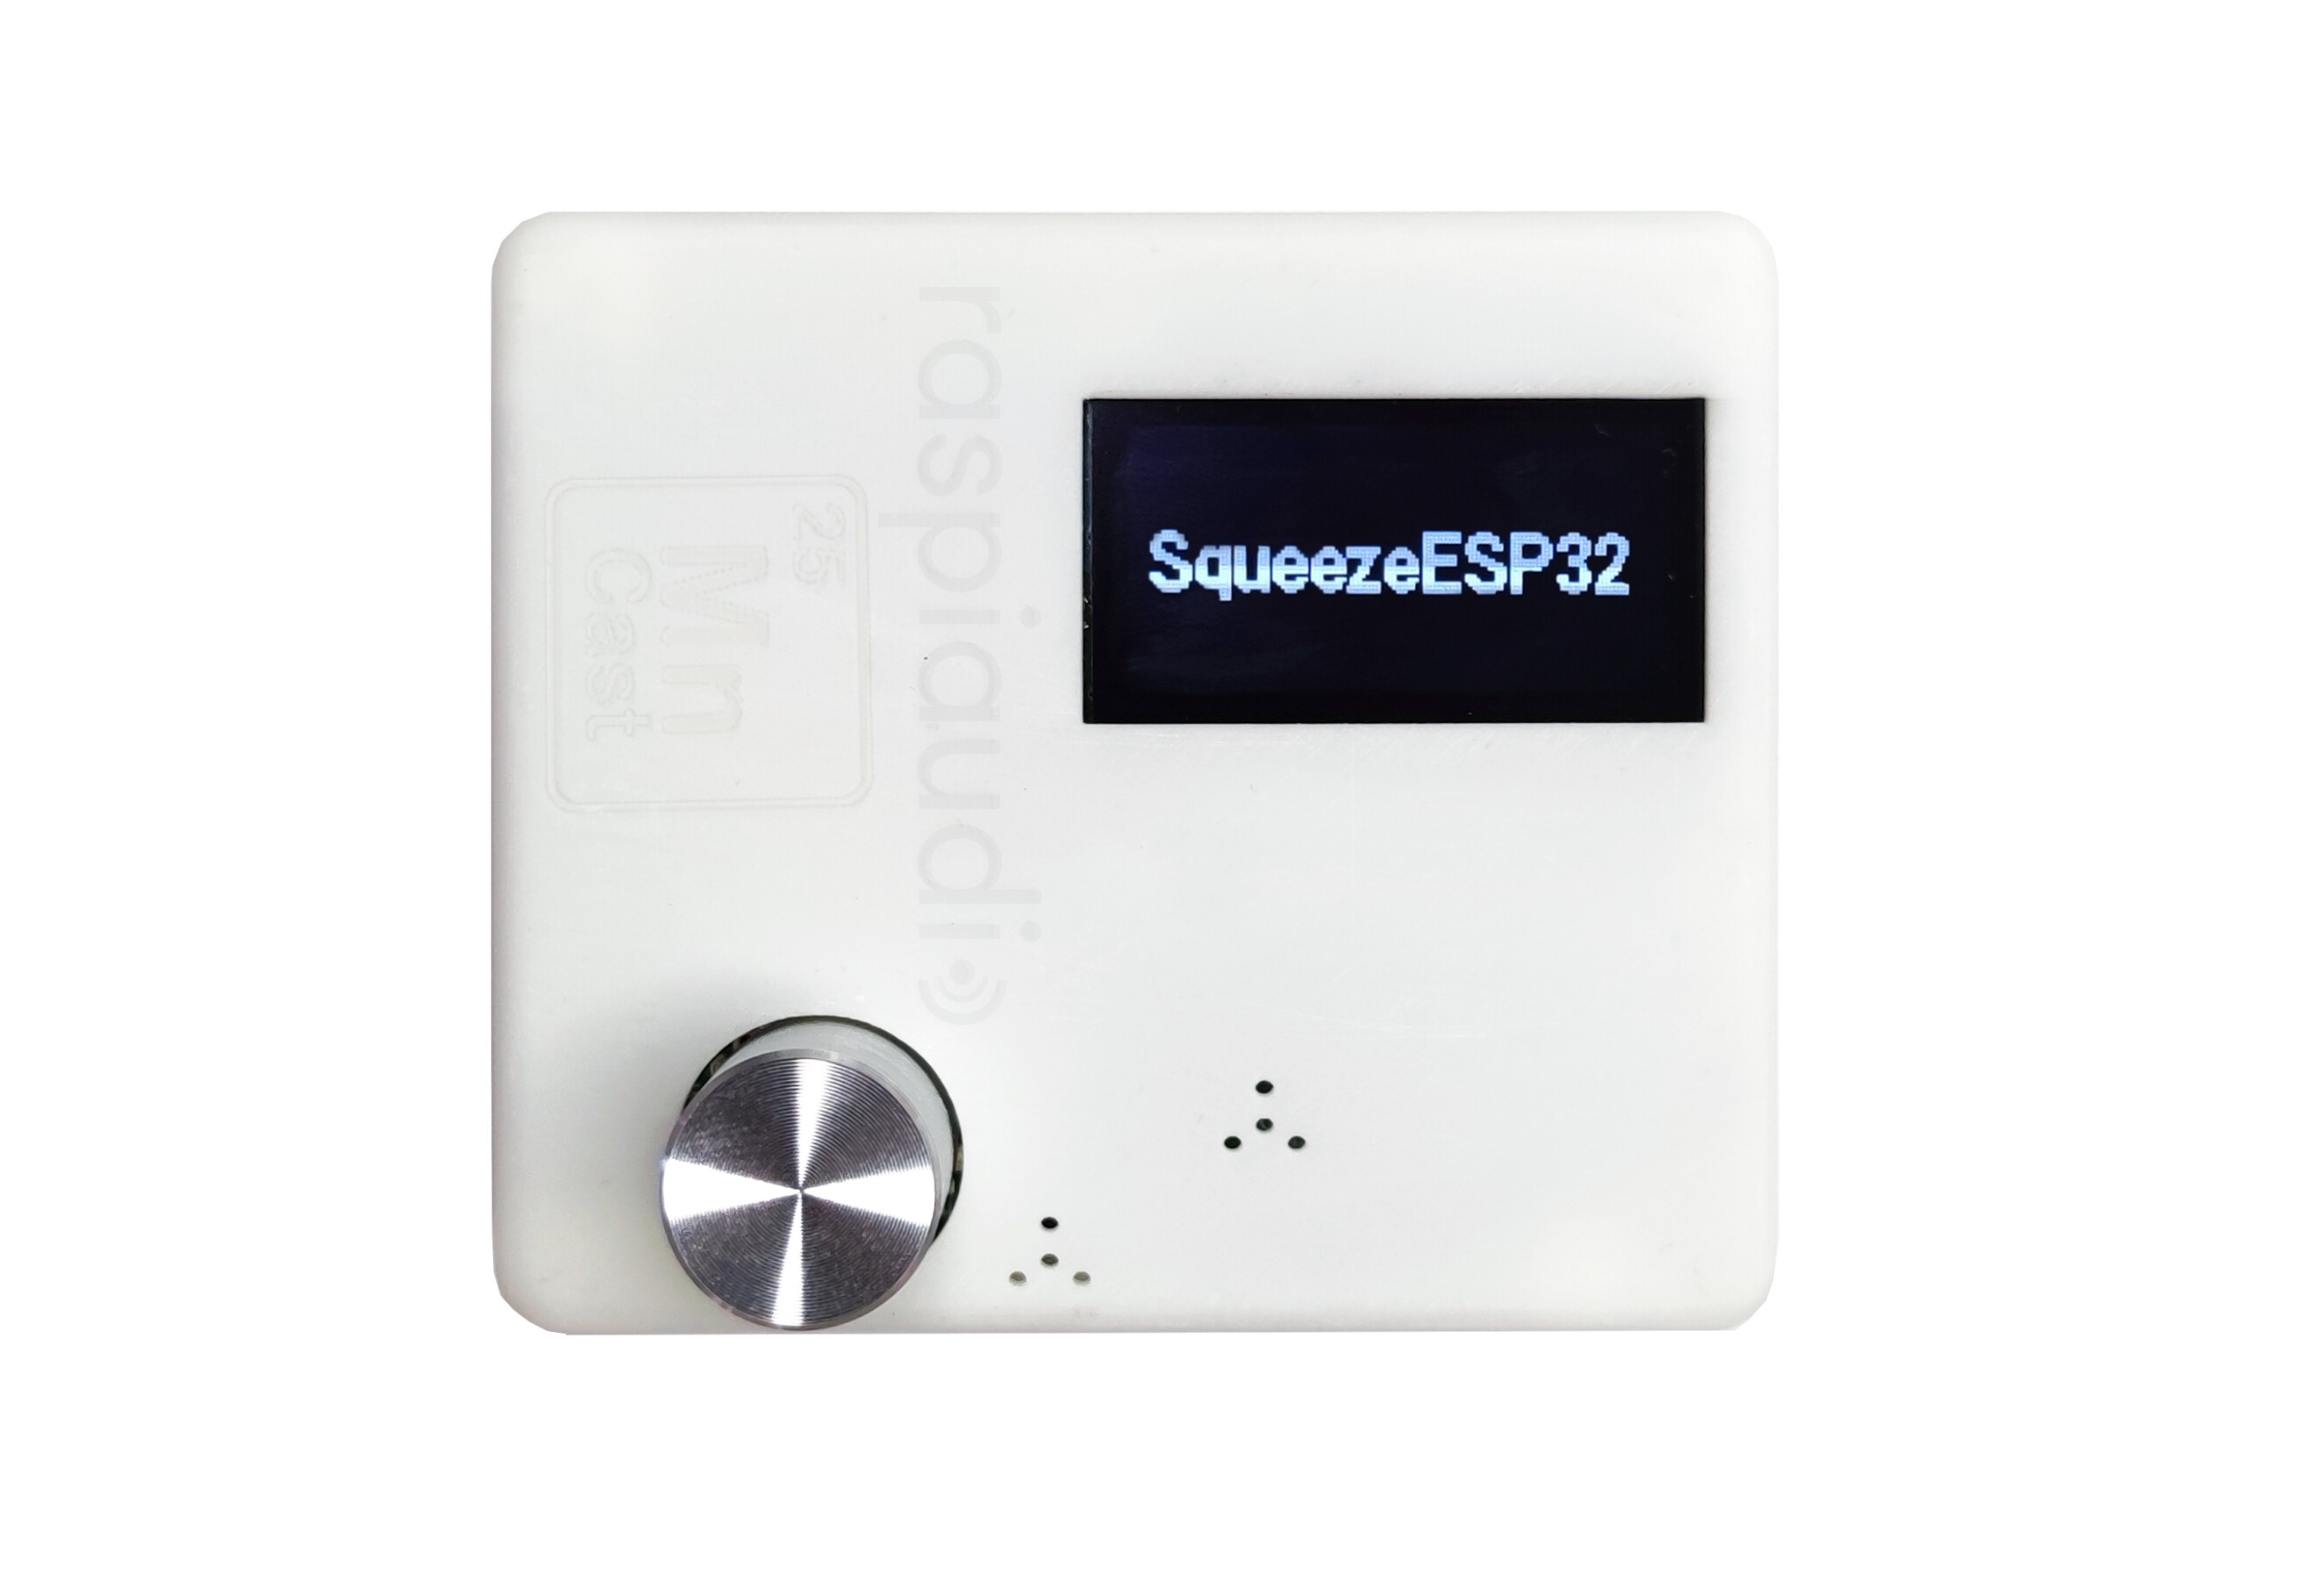
The Mn Cast device is intended to be plugged into your old stereo system to add modern connectivity such as Bluetooth, Airplay, Local Streaming, Home Assistant support, and much more. Don’t throw away your old Hifi system; upcycle it!
Why this name?
The name Mn comes from the chemical symbol for Manganese, which is the 25th element on the periodic table, just after Chrome, which is the 24th element. This is an open software alternative to Google’s Audio ChromeCast, which stopped a few years ago.
Specification
The Mn Cast device uses an ESP32 wrover and a high-quality DAC. It is designed to run Squeezelite, which comes pre-loaded. Credit for this remarkable piece of software goes to Philippe44 and Sle118; my humble contribution is to make a device available worldwide through Amazon at an affordable price to support their software.
- High quality 32 bits 384kHz DAC
- Analog jack output
- Optical digital output (mini-TOSLINK)
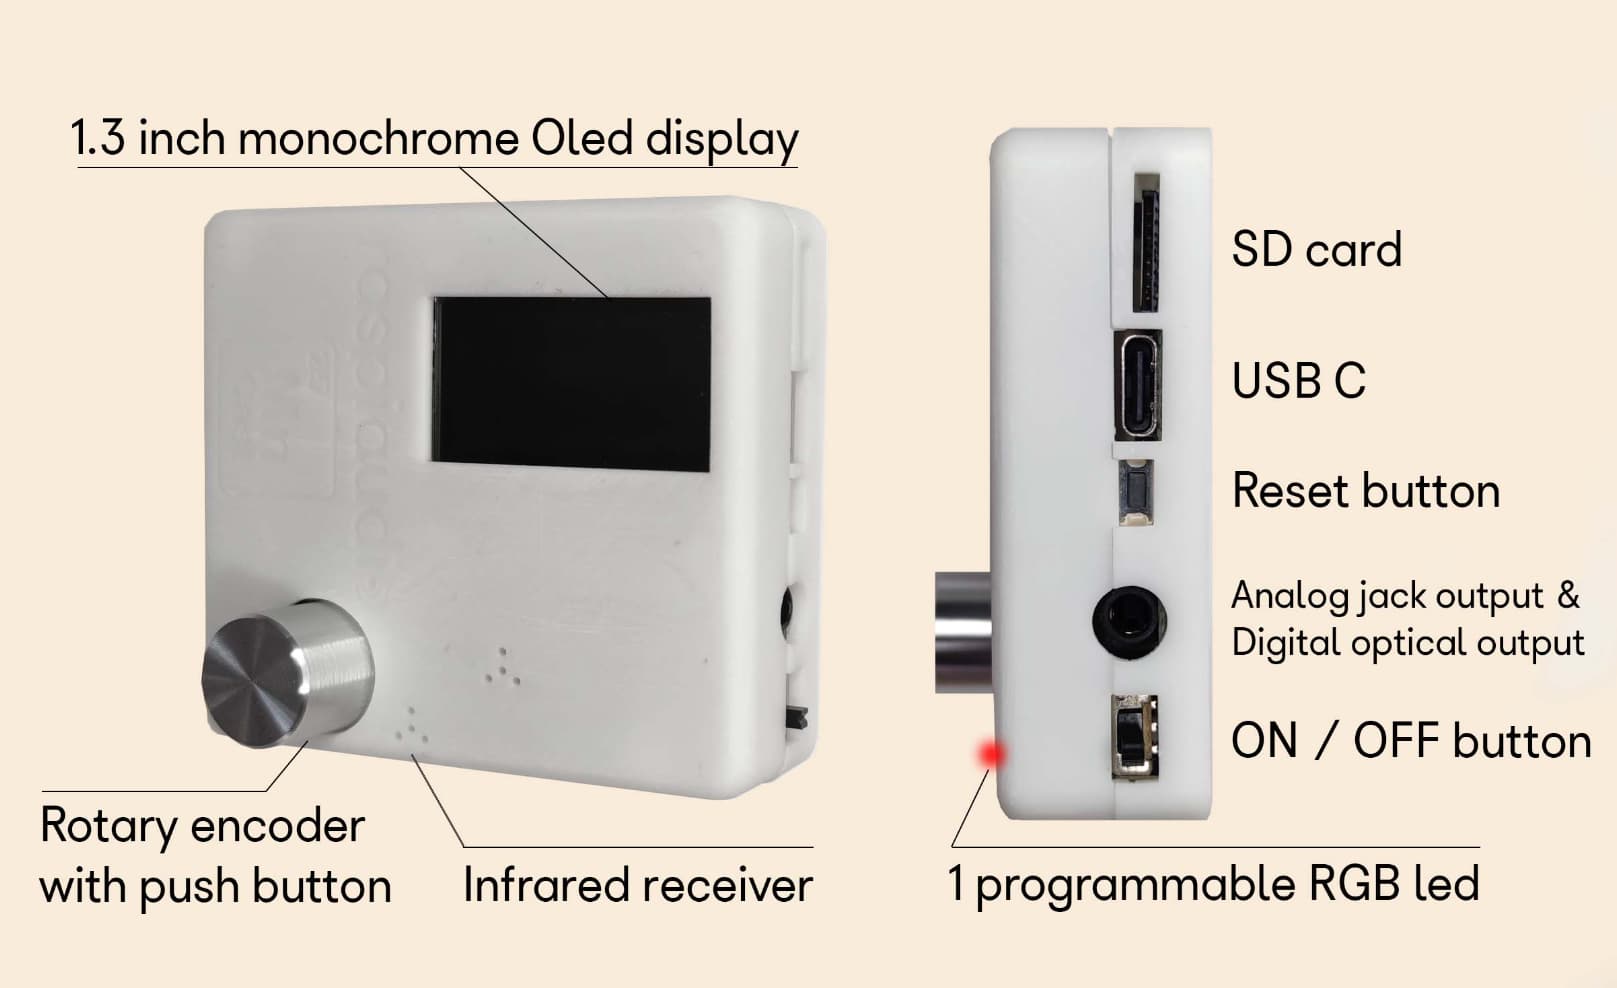
- 1.3 inch monochrome Oled display
- ESP32 Wrover based : 2.4GHz WiFi 802.11 b/g/n up to 150 Mbps
- Bluetooth 4.2 LE
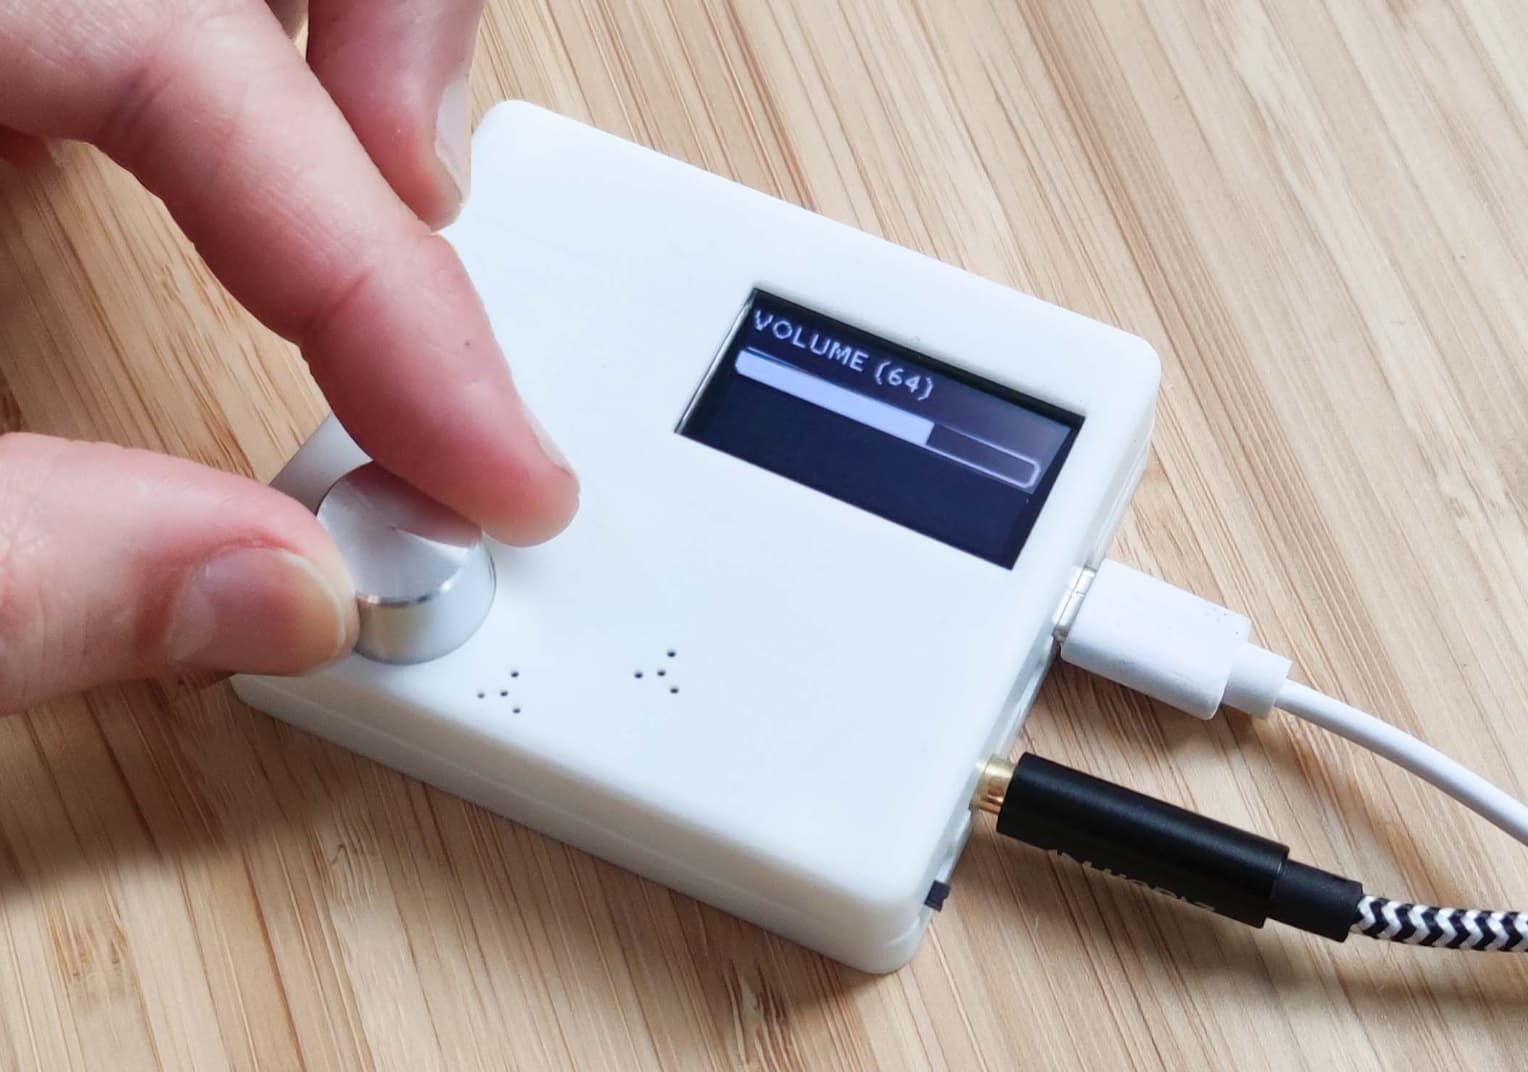
- Rotary encoder with push button
- Infrared receiver (to use it a remote control)
- SD card
- USB C
- 1 programmable RGB LED
- A nice case
- ON/OFF button
- Possibility to plug an optional I2S microphone
Power consumption :
70mA while idle with screen on
120mA when streaming on wifi
150mA peak
Stay tune we will soon release a new radio/bluetooth app for Mn cast
Software installation
Install first Squeezelite on apps.raspiaudio.com then you can jump directly to the step “Setting Wifi and Configuration” of this page. However, if it does not or if you want to load it again, here is the step-by-step procedure to flash the firmware:
Reflashing the Squeezelite firmware (optional)
Connect the device to your computer using a USB-C data cable and turn the switch ON (switch facing outward):
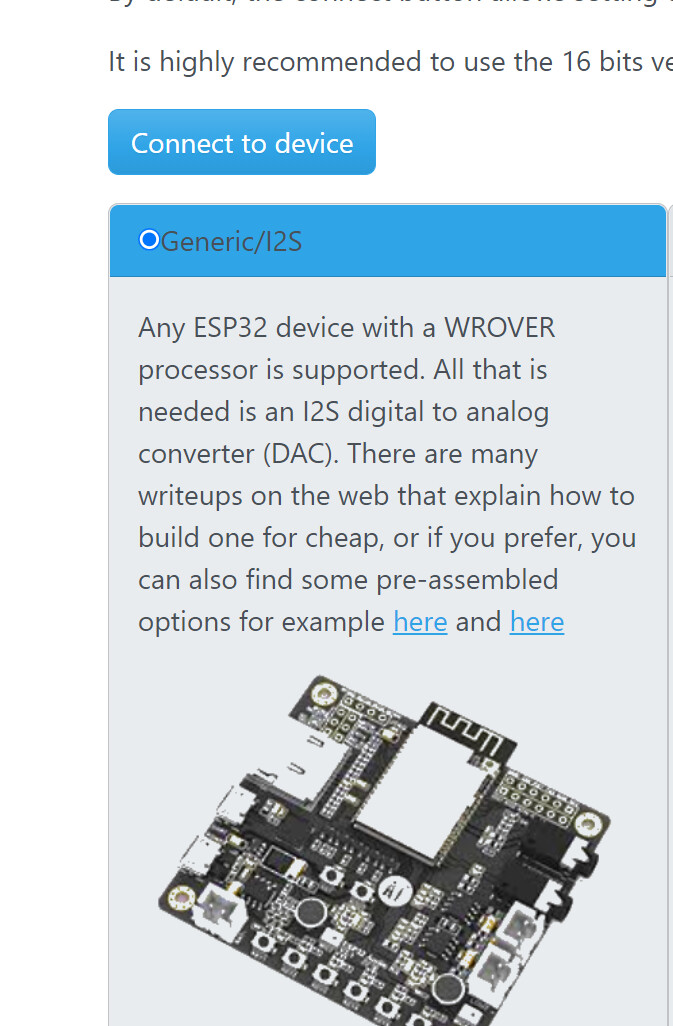
We recommend you to use the web installer available here. It needs to be opened in a Chrome browser as it is using some html5 usb to serial function to be installed from a browser.This approach is multi-platform as it could run on Linux, Windows and Mac.
From there choose the generic option :
Click on device to connect, a pop-up window will open prompting you to select the com port it should be indicating something like "CP2104… text might change depending on your OS:
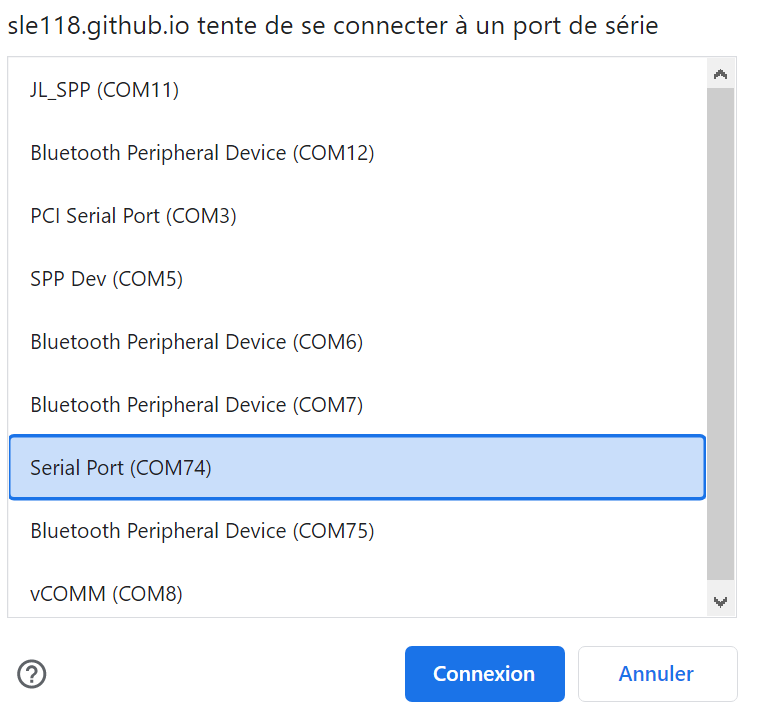
On most computers you will not have many com ports to choose from, but if you have a doubt in Windows you could use the Windows Device Manager to locate you Com port number, if you can’t find it read this.
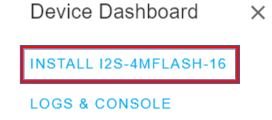
Then it will prompt you to install the last version :
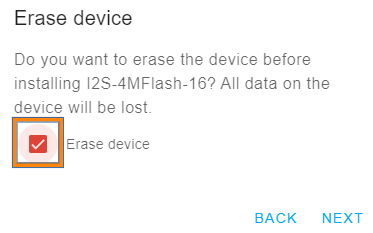
First you need to select “erase device” and go to the next step.
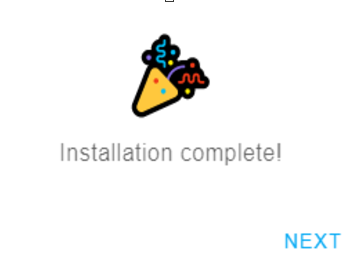
if everything is ok, you have this

In case it fails and you have the picture below, you need to put the Manga Cast manually in bootloader mode:
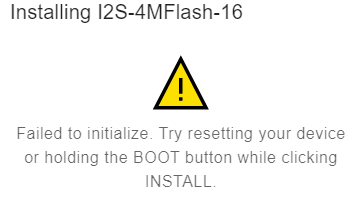
To do so push the button, turn off the power switch and turn it on ( don’t release the button when you turn on/off the power supply). Then try again the previous step.
and at the end you have this:
Upload will last a few minutes, leave the browser window in foreground during that time, turn OFF/ON the device, and give it a minute to start.
Setting Wifi and configuration
By default, when no WiFi credentials are set up, an access point is created called “Squeezelite,” and its password is “squeezelite” To access it, open a new browser window and go to 192.168.4.1. Then, select your WiFi and enter your home WiFi credentials to connect.
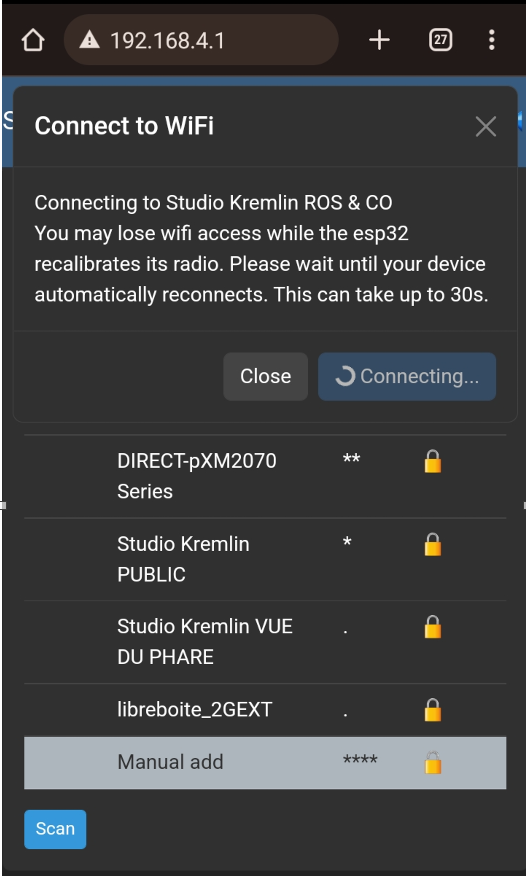
when you succes to connect:
go to squeezelite-esp32, and search your IP address.
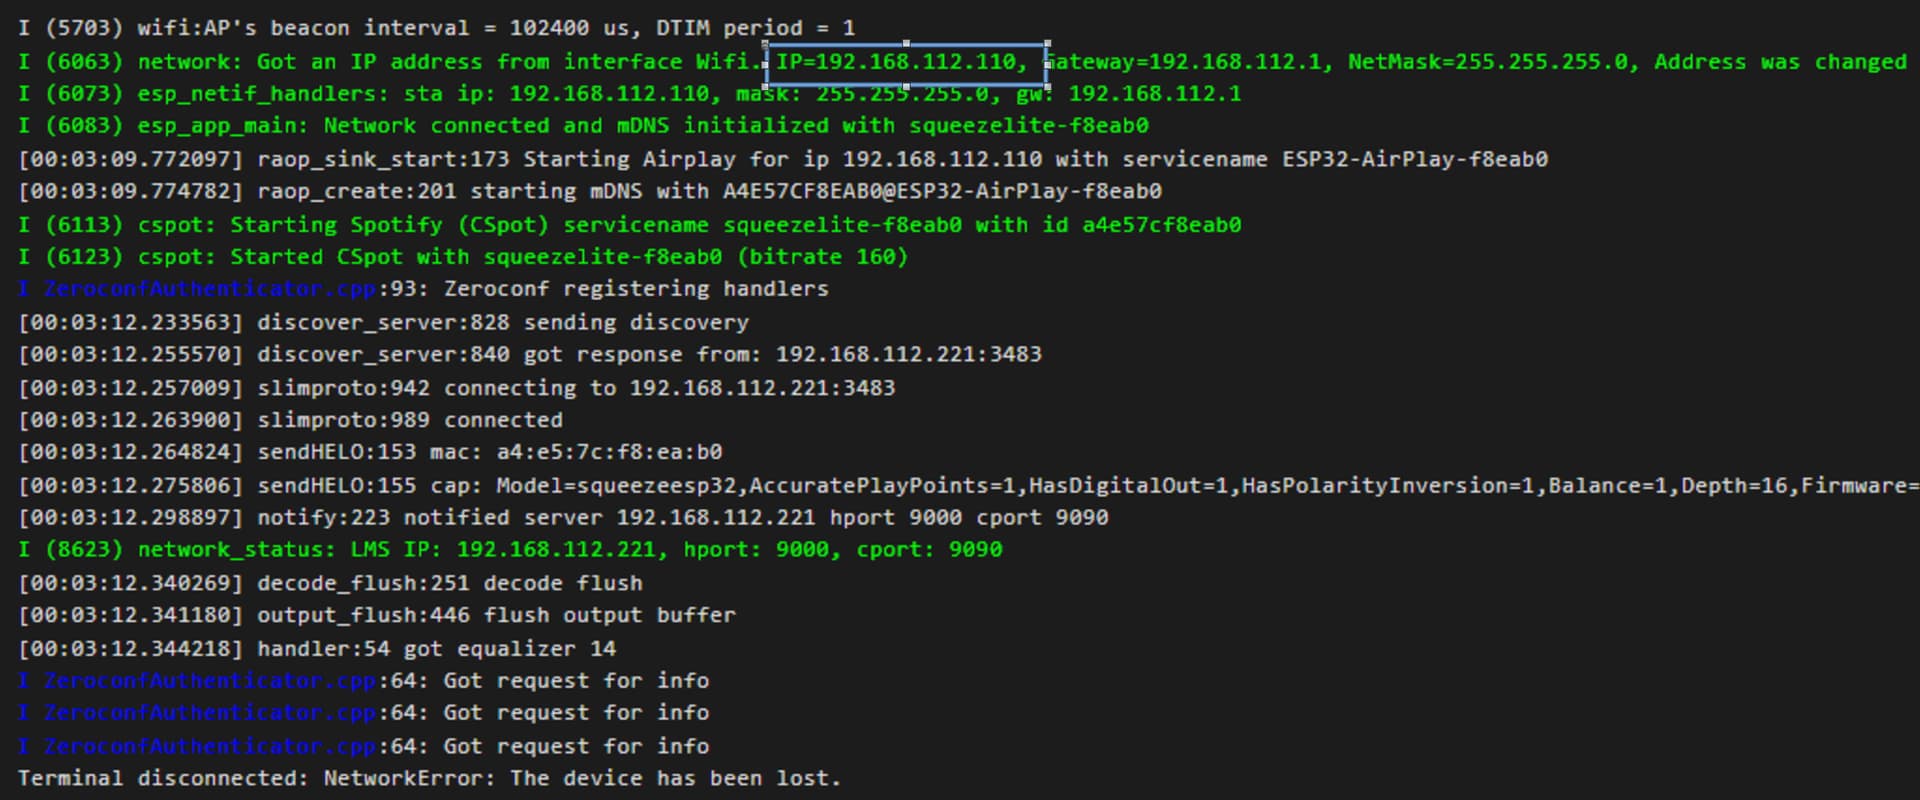
you can find your address in the data, above the IP address is for example 192.168.112.110 yours should be different because it is assigned by your router.
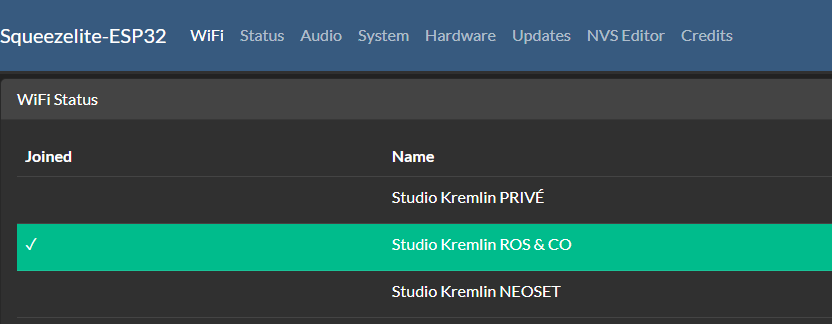
Open a window with this IP address, you lend on this page.
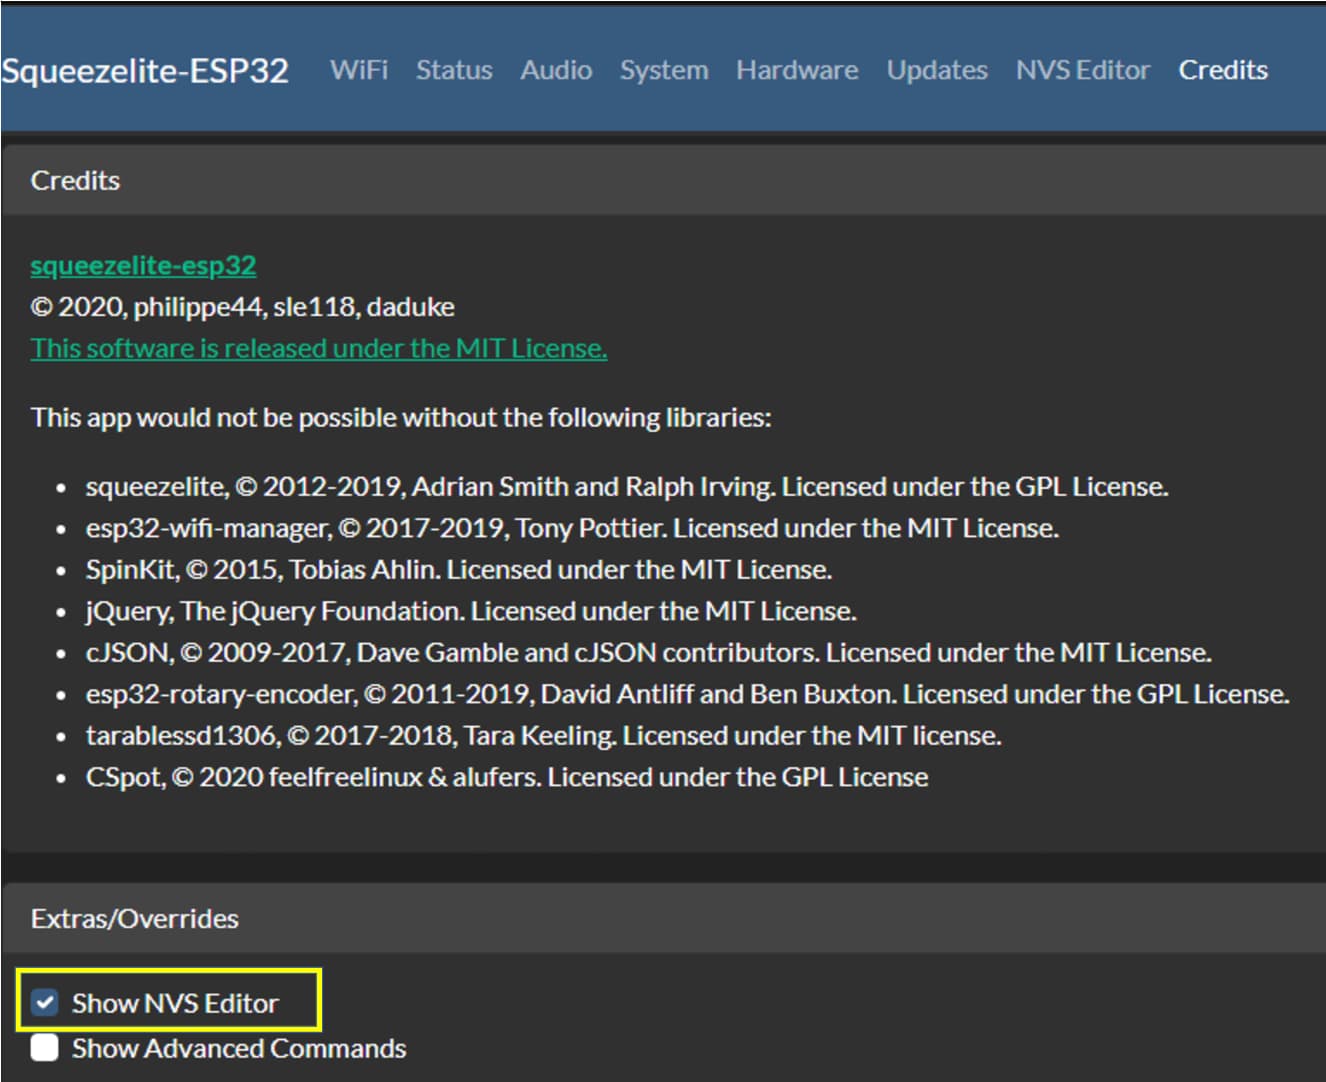
Go to the credit section:

Select in the end on the page, “SHOW NVS EDITOR”( in yellow on the screenshoot), a new section will appear on the menu.
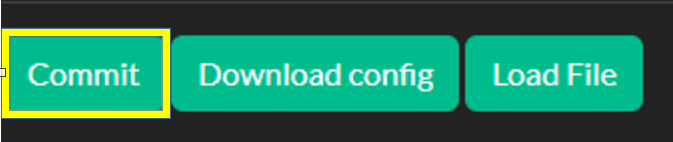
Download the following NVS configuration file to all presets for your Mn Cast

Select the file in you have just download. select Commit and rebbot at the and of the page.
To enable Airplay and Logitech Media Server you need to set the wifi connection. In the wifi section select your network and enter your wifi password. Save and reboot.
At that point you will be able to plug an audio jack and listen to music using classic Bluetooth (search for Squeezelite… device), or using airplay (scan with an apple device).
But to have the full experience we recommand your to install a LMS server :
Logitech Media Server installation
Logitech Media Server
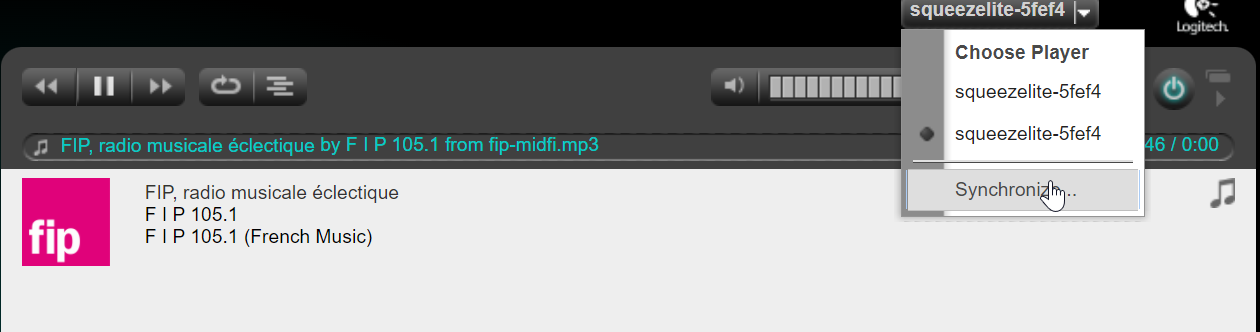
Allows you to stream content thru a local server, and many cool stuff lik sync several devices for multi rooms audio.
Install the server on your PC, then your squeezelite device(s) should be found if on the same network, and could be sync :
Using the Mn Cast in Home Assistant
TBD
Using the Mn cast in Arduino
We are encouraging you to make your own software for the Mn Cast, for example you could make a standalone internet radio streamer that unlike Squeezelite or HA does not need a server. Here are some examples under Arduino that could inspire you to make your own application
- This is the test software that we use in the factory that demontrate how to use the screen, encoder, sd card, RGB led and DAC sound output.
- Example Internet Radio / Simple bluetooth serverless : coming soon
Infra-red remote (opional)
You can define some actions linked to the push on a button of any old remote control that you have around (change volume and more). To do this open the serial console and push on some button of a remote control you will see some codes for each button you press, copy those codes somewhere.
Then you need to go in your LMS server files to assign a code to one action. Find and edit the file Slime_Device_Remote.ir on windows it is located here : C:\Program Files (x86)\Squeezebox\server\IR
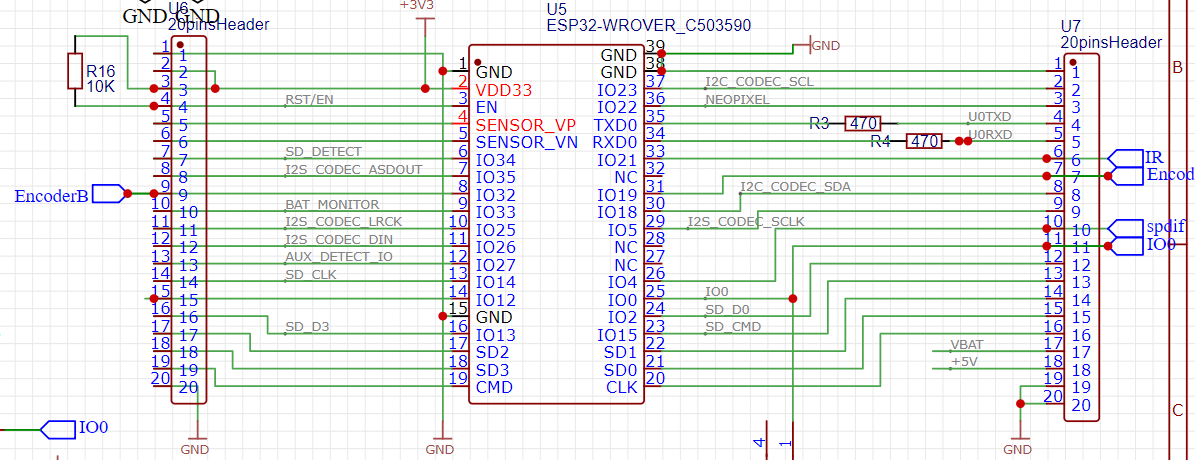
Pinout
Here are the GPIOs used by the Mn Cast
DAC
bck=5,
ws=25
do=26
mute=33
Jack detect = 27
Screen
sda=18
scl=23
width=128,height=64,address=60,driver=SH1106
Encoder
A=32
B=19
Button =0
Infra Red
IR= 21
Spdif (optical output)
optical=4
RGB led (WS2812b)
led =22
SD card (SPI bus)
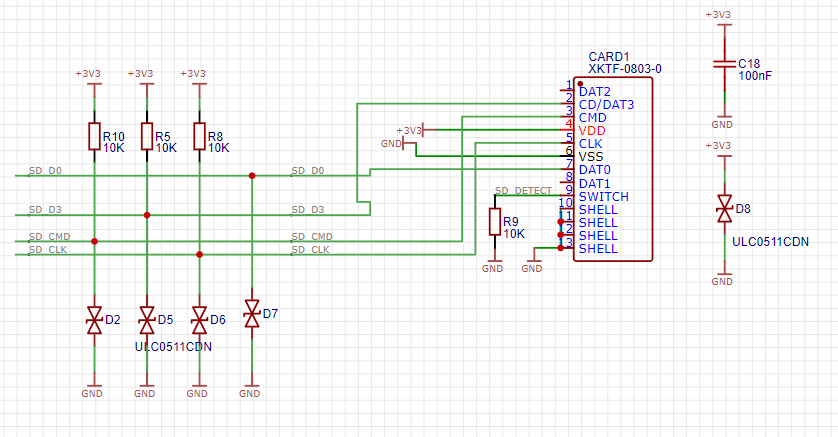
insertion detect = 34
SD Card (SPI) D0=2 CMD=23 CLK= 14 D3=13
Home Assistant / ESPHome
We have recently added the Microphone support in Home Assistant this is it is not yet documented it plugs like this:
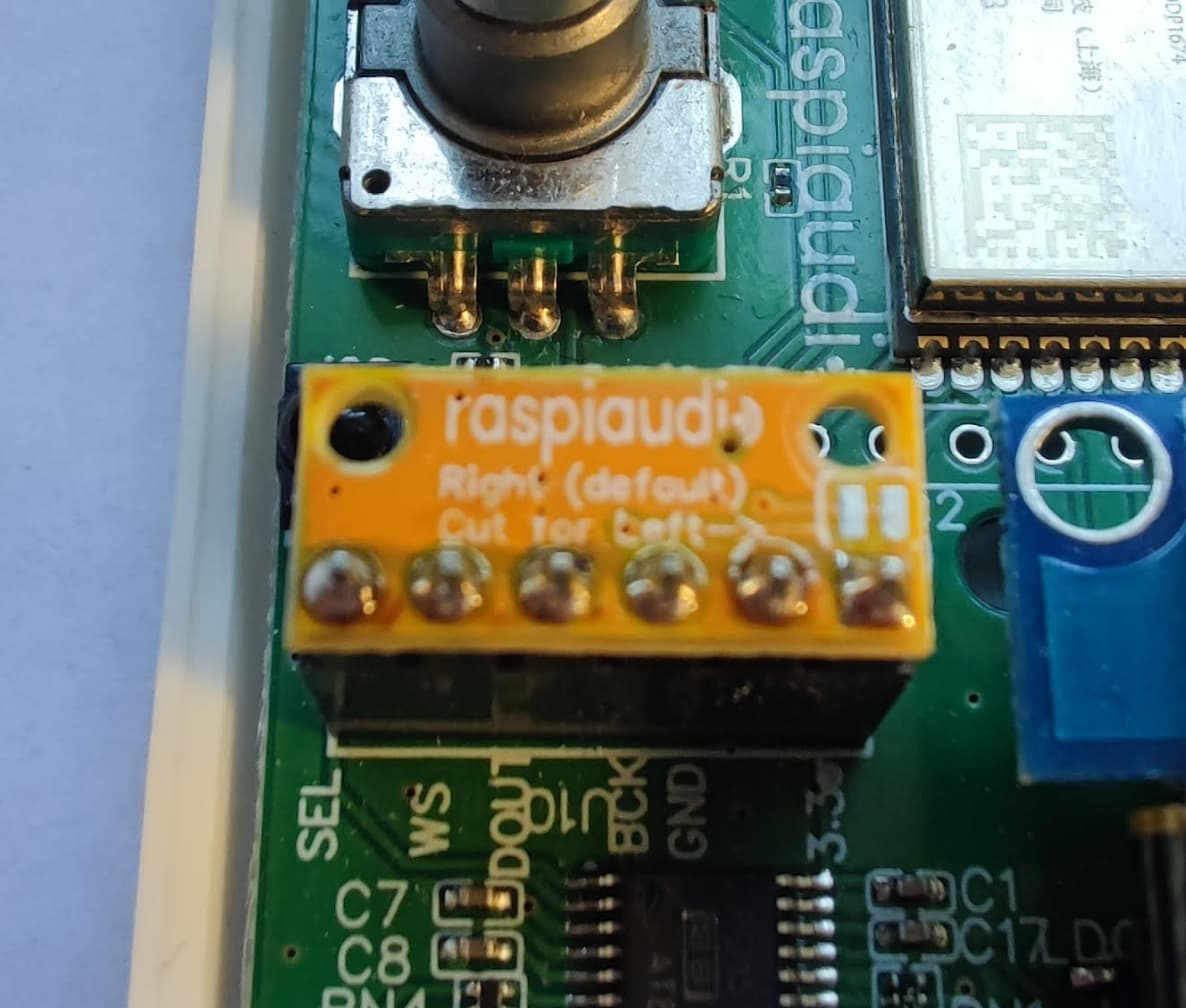
But you can buy it here:
But it is also compatible with this ![]()