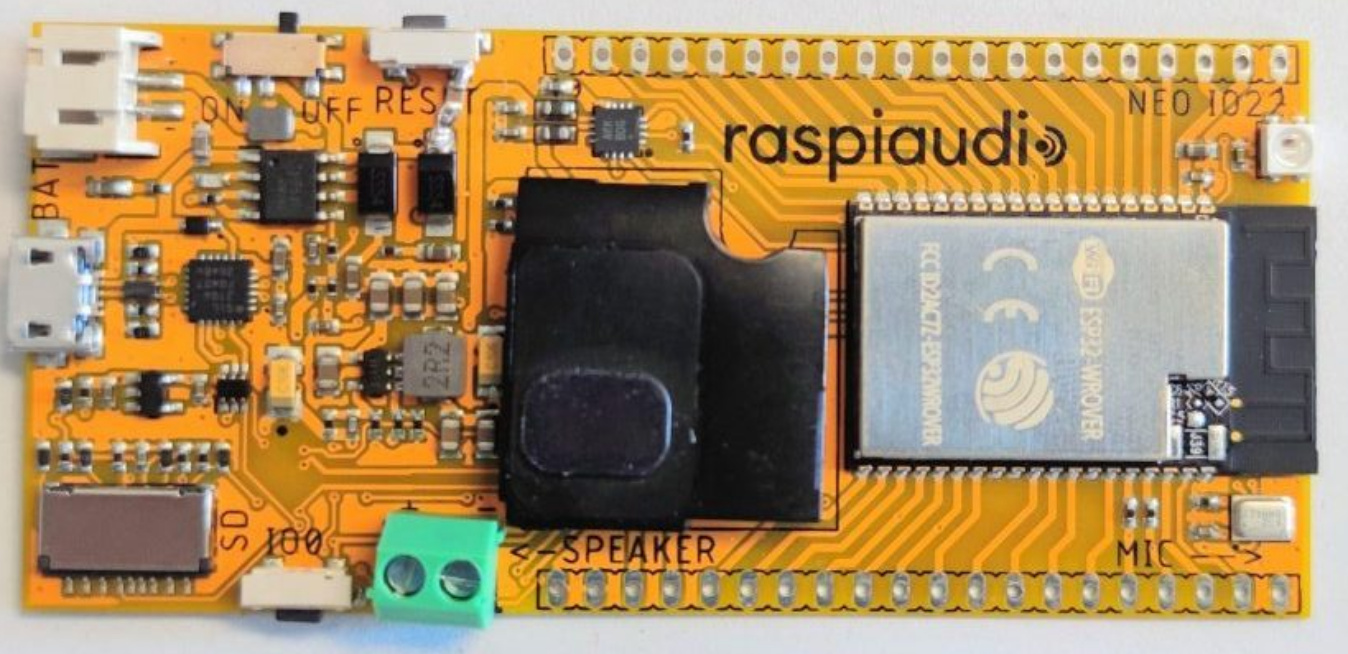
This is a how to guide for the Muse Proto board to implement a simple Bluetooth speaker project with this board.
The beauty of this product is that in includes a built in speaker, microphone, and the ability to add a battery.
it could be purchased here : https://raspiaudio.com/produit/muse-proto
At the end of this tutorial you will be able to :
- Connect in bluetooth the the ESP32 and play audio from your phone or computer
- Play SD card mp3 content
If you want to recompile the code follow this otherwise skip the following
1. Download files
All files with the last version are here: GitHub - RASPIAUDIO/museProto_speaker: App for Muse PROTO board(ESP32 based)
Download the archive :
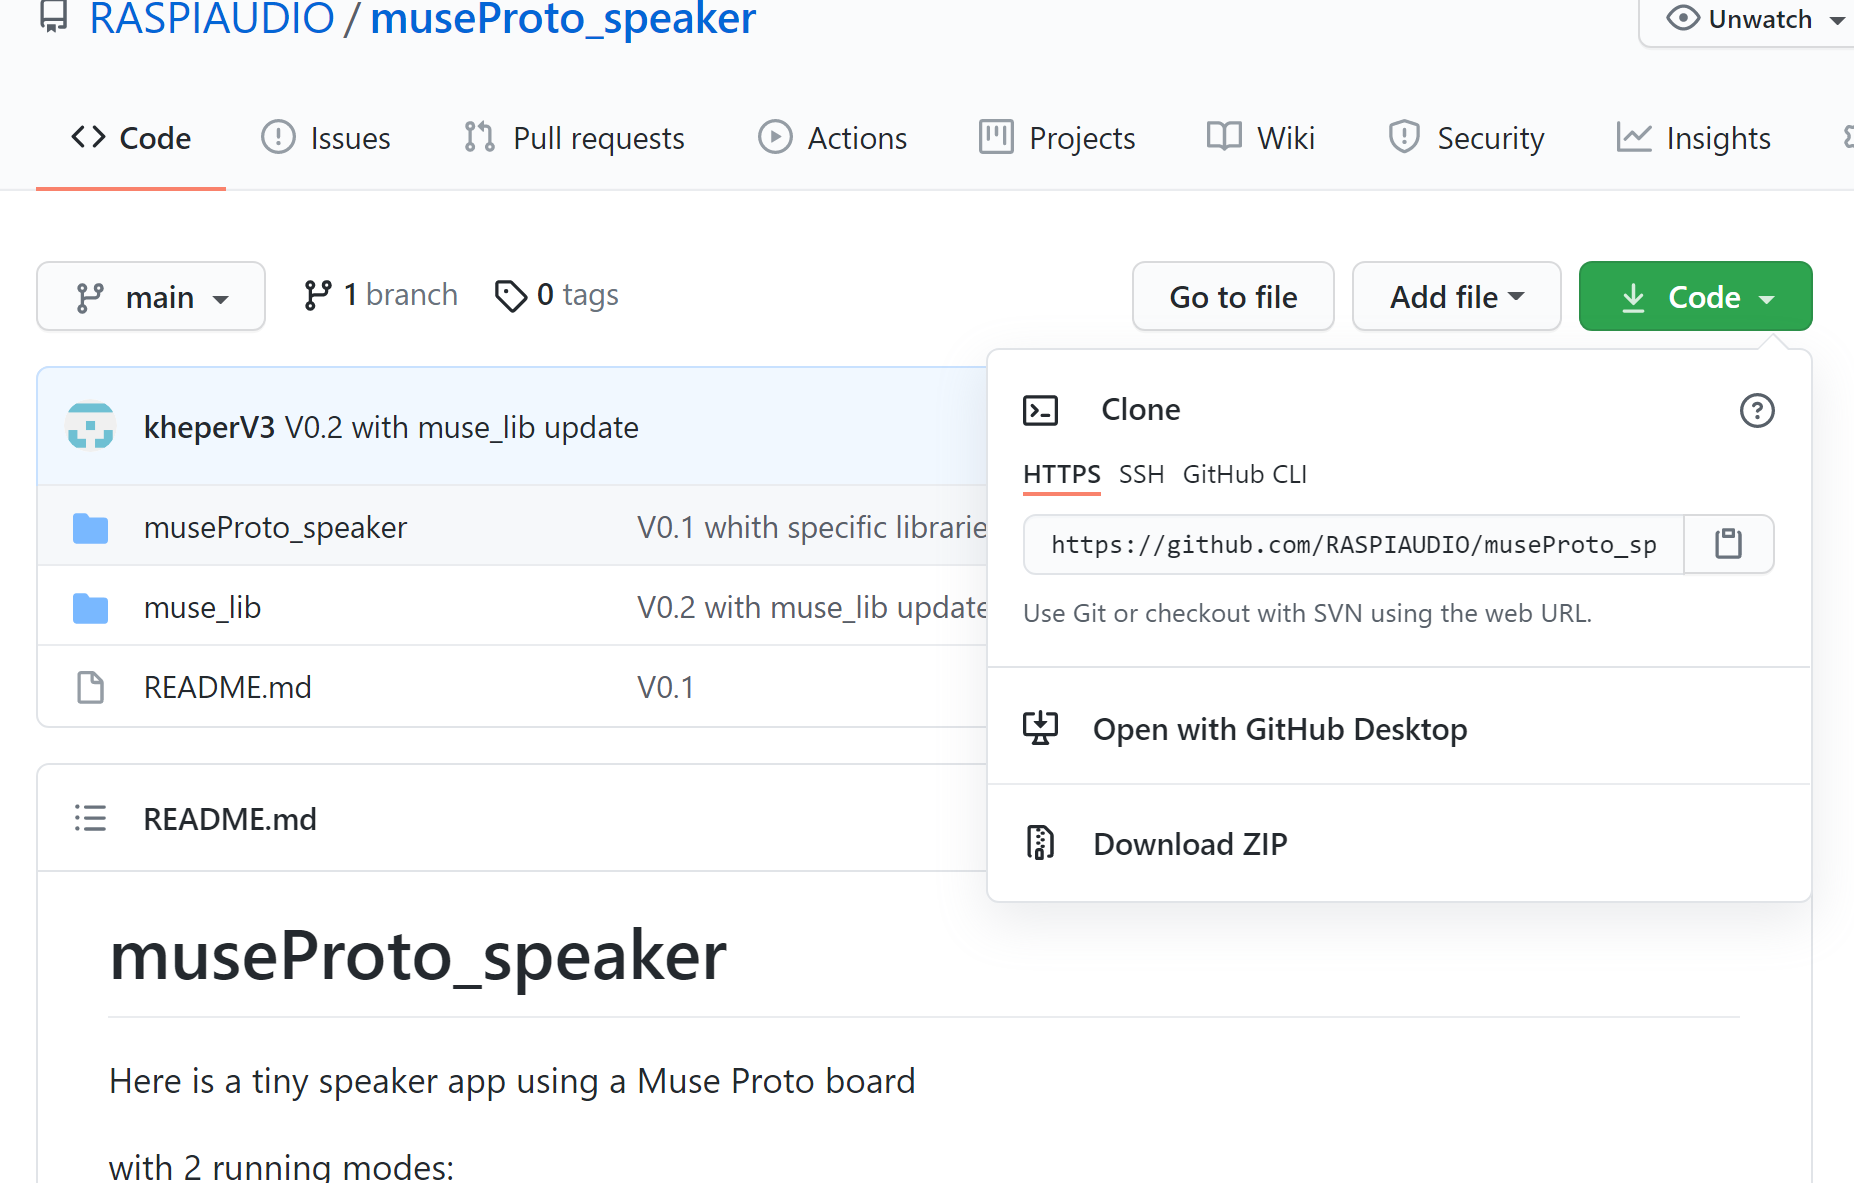
unzip the files.
2. Copy then library
In the unziped archive copy the directory muse_lib in your arduino library folder, on windows this is in Documents\Arduino\libraries , if you are on linux /Arduino/libraries
3. Install the ESP32 board in the Arduino IDE (skip this step if you already installed it)
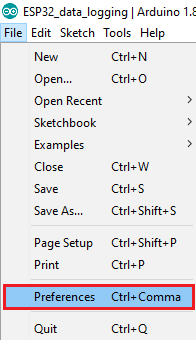
A. In your Arduino IDE, go to File > Preferences
B. Enter https://dl.espressif.com/dl/package_esp32_index.json into the “Additional Board Manager URLs” field as shown in the figure below. Then, click the “OK” button:
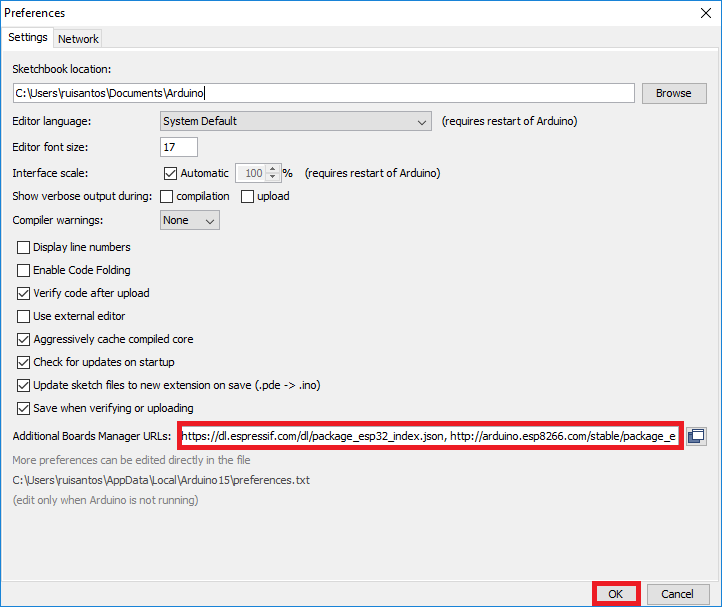
Note: if you already have the ESP8266 boards URL, you can separate the URLs with a comma as follows:
https://dl.espressif.com/dl/package_esp32_index.json, http://arduino.esp8266.com/stable/package_esp8266com_index.json
C. Open the Boards Manager. Go to Tools > Board > Boards Manager…

D. Search for ESP32 and press install button for the “ ESP32 by Espressif Systems “:
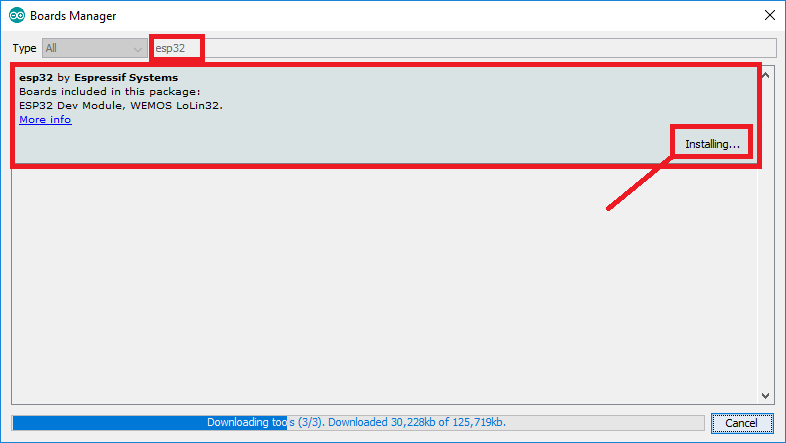
E. That’s it. It should be installed after a few seconds.

Complete instructions are here : Installing ESP32 in Arduino IDE (Windows, Mac OS X, Linux) | Random Nerd Tutorials
4. Target option in Arduino IDE Tools
- Select the following options in the arduino IDE:
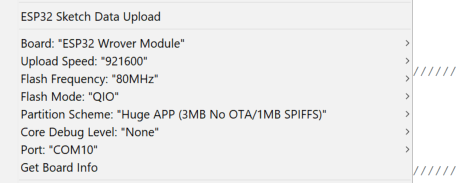
- Plug the Muse proto board and set the right com port in the menu showed above.
- Upload files such as wave file and config files to the ESP32 flash memory usuing the ESP32 Sketch Data Upload (see picture above), this is using Flash File System (SPIFFS) you can find more info here if you would like to go deeper on the subject (optional):
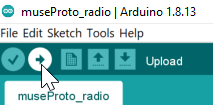
Install ESP32 Filesystem Uploader in Arduino IDE | Random Nerd Tutorials - Upload the program to the ESP32 :
**4. Buttons and usage **
with 2 running modes:
- Default mode upon start bluetooth player (BT ID : MUSE-SPEAKER-xxxxxx)
- if insertind an SD card formated in FAT32 with mp3 files on it : SD player mode Tho have the full experience you can add 3 buttons:
It uses 3 buttons:
- VM (gpio 32 / pin 8)
- short press => volume -
- long press => backward (SD mode)
- VP (gpio 19 / pin 31)
- short press => volume +
- long press => forward (Sd mode)
- MU (gpio 12 / pin 14)
- short press => mute/unmute
- very long press => stop (deep sleep) / restart
Here is the result:
